The Terminal and Installing Packages
You have your project folder open and your virtual environment created. Now you need to open a terminal inside VSCode and install Flask. This page shows you how — and what to watch for.
Opening the terminal in VSCode
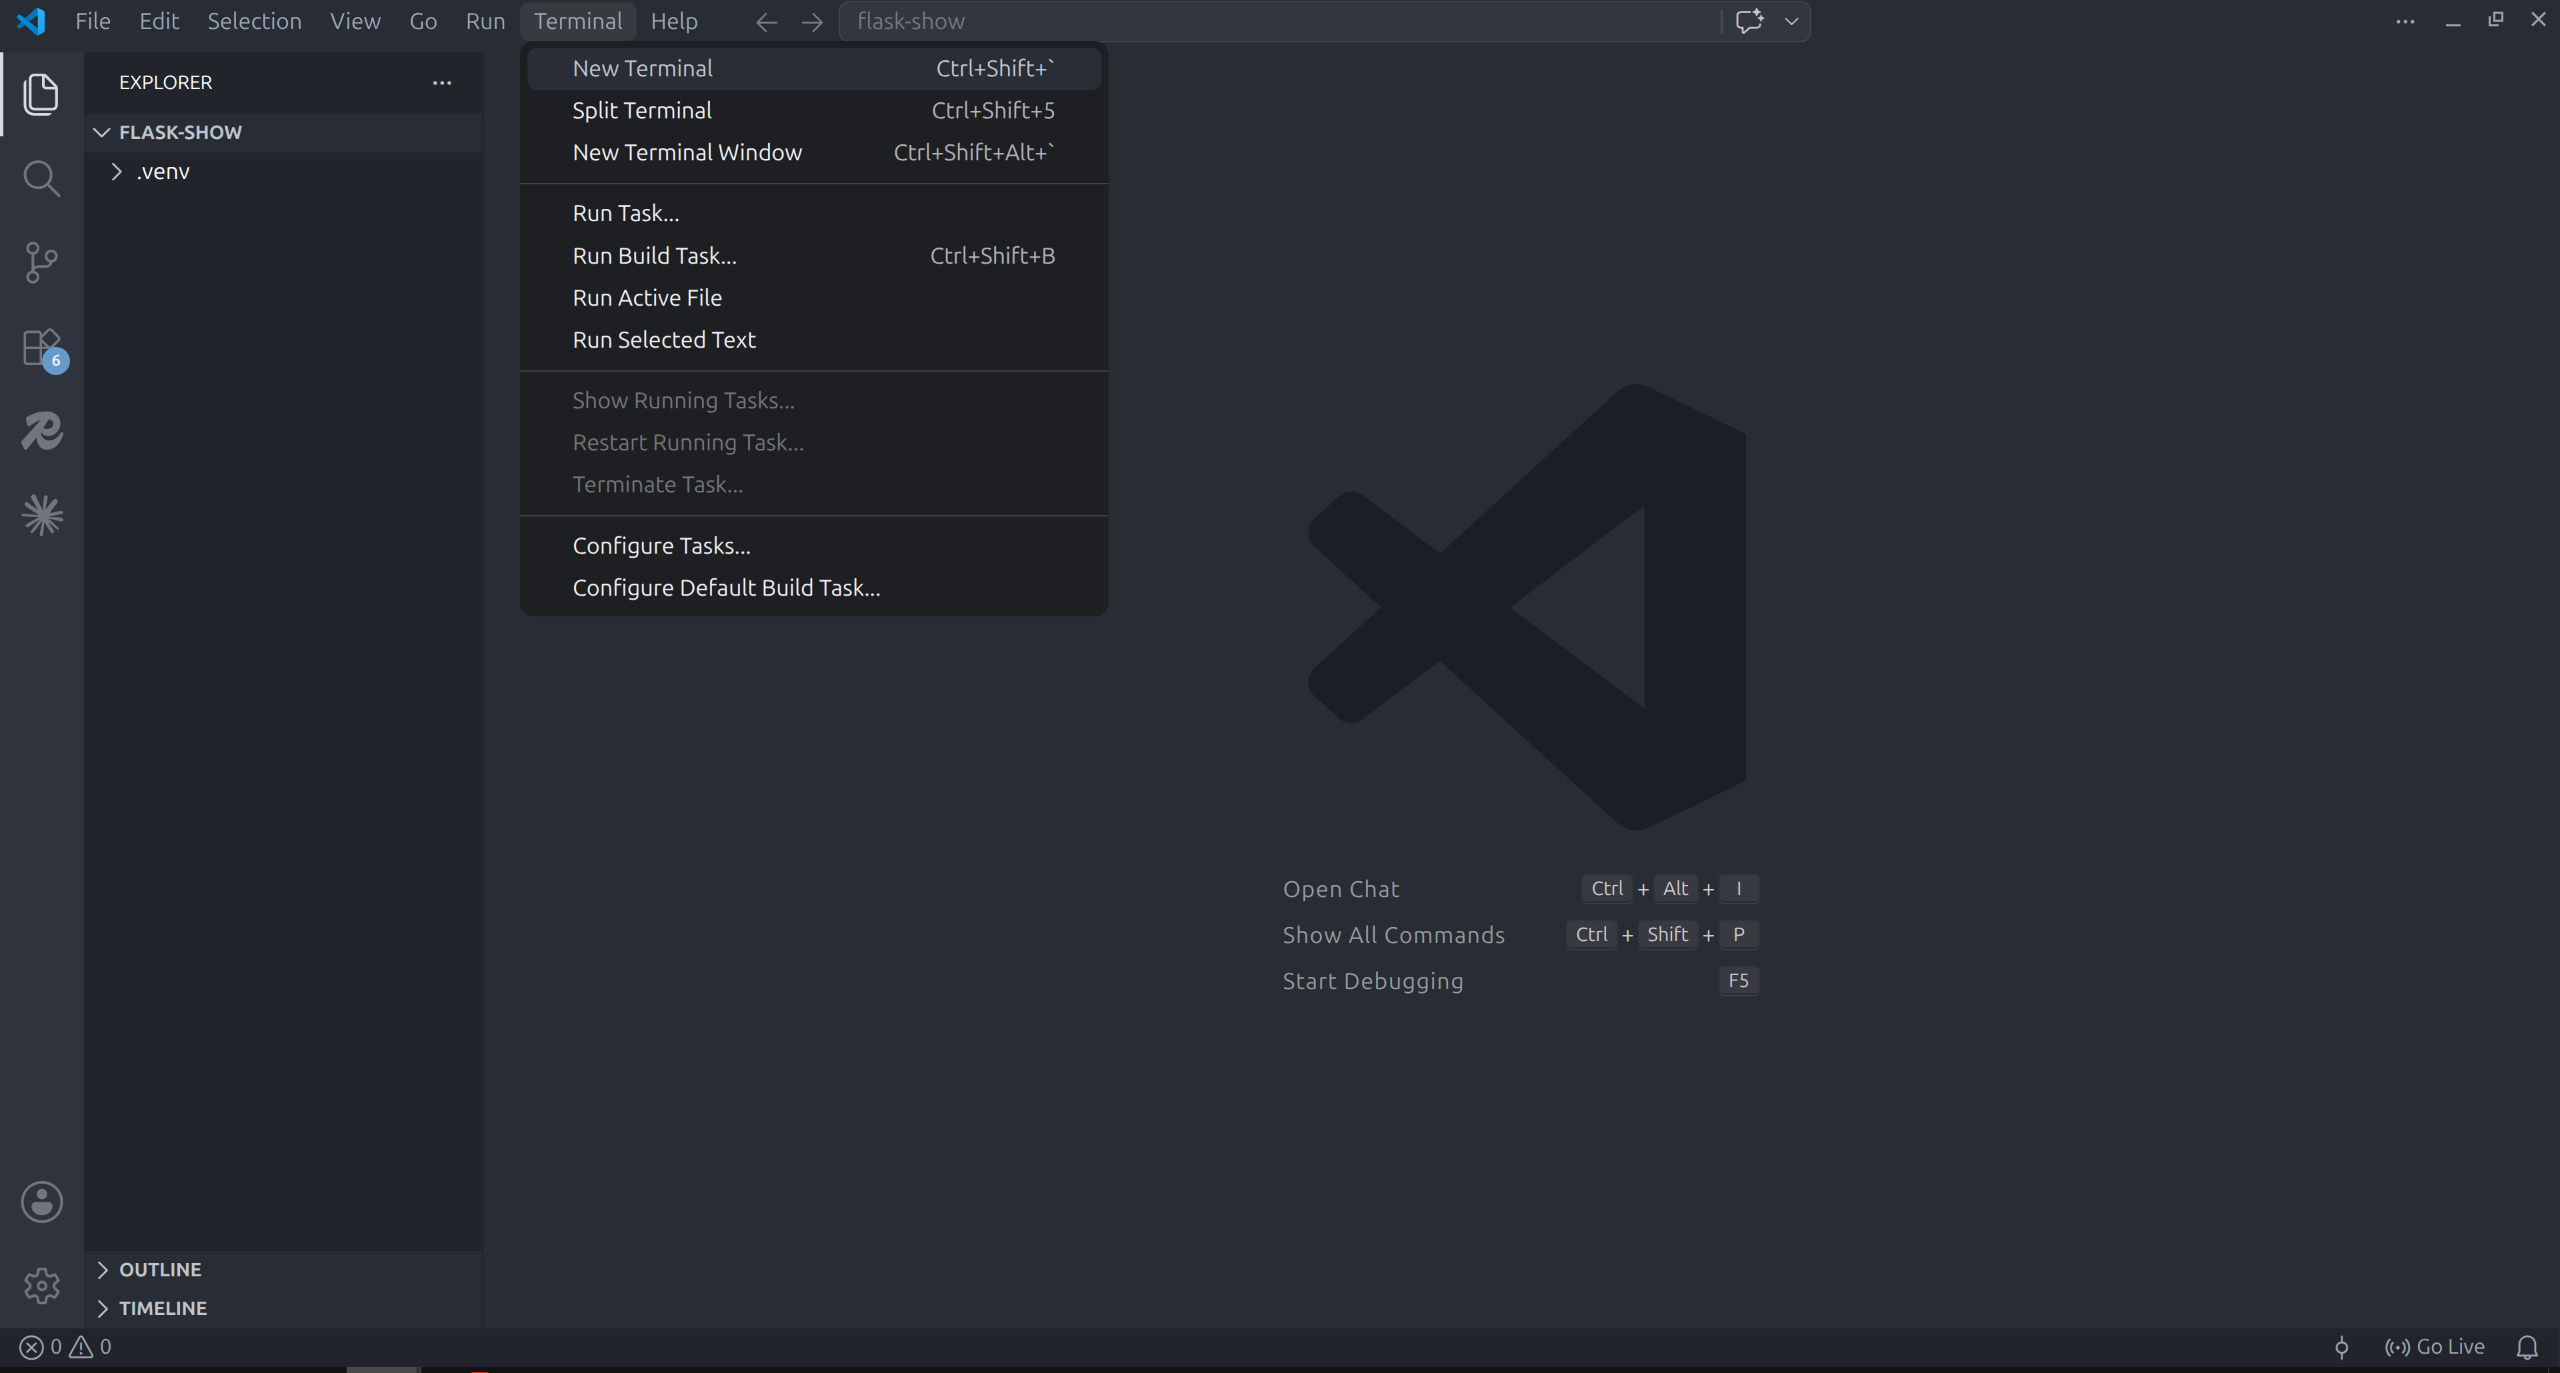
Go to Terminal → New Terminal from the menu bar at the top, or press:
Ctrl + `
That is the backtick key — top-left of your keyboard, just below Esc.
Wait — do not type anything yet
Here is something that catches people out the first time. After the virtual environment was created, VSCode needs a moment to activate it in the new terminal. The extensions that handle this are loading in the background — give them a few seconds.
You will see the terminal is busy, with something running or a prompt that looks plain:
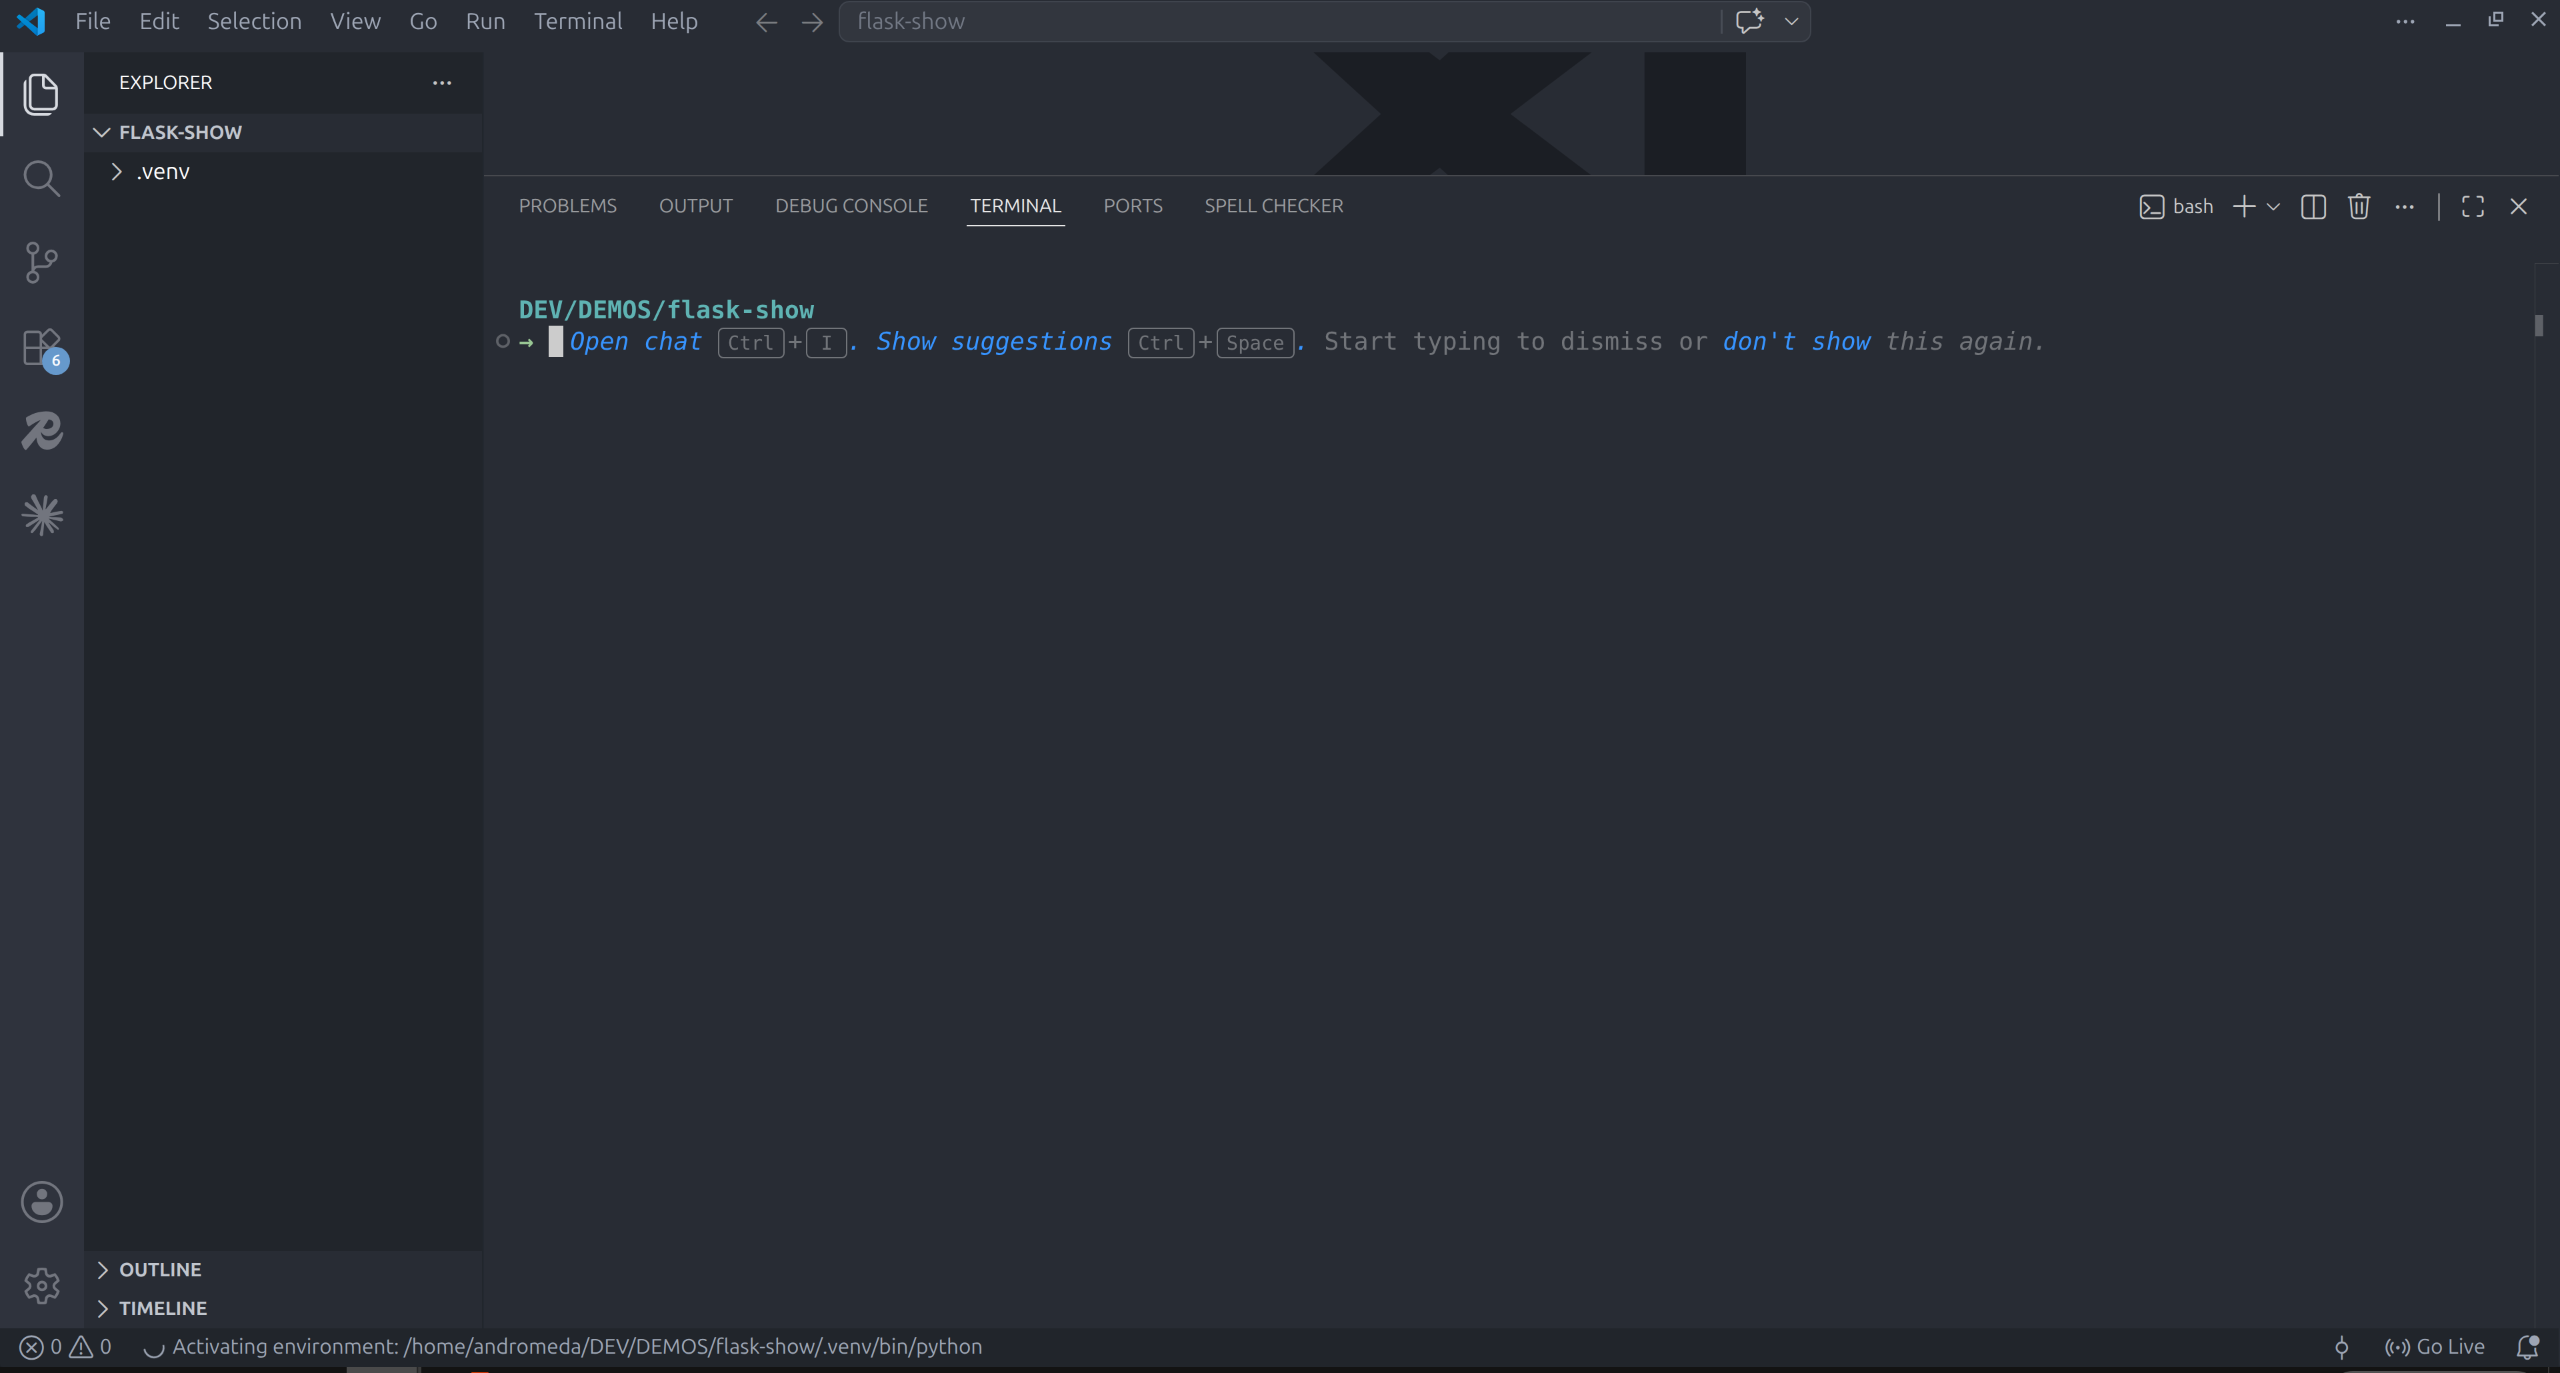
Just wait. Do not type anything yet.
How to know the virtual environment is active
Once the extensions finish loading, look at the terminal prompt. When the virtual environment is active, you will see (.venv) at the very beginning — before your folder name, before everything else.
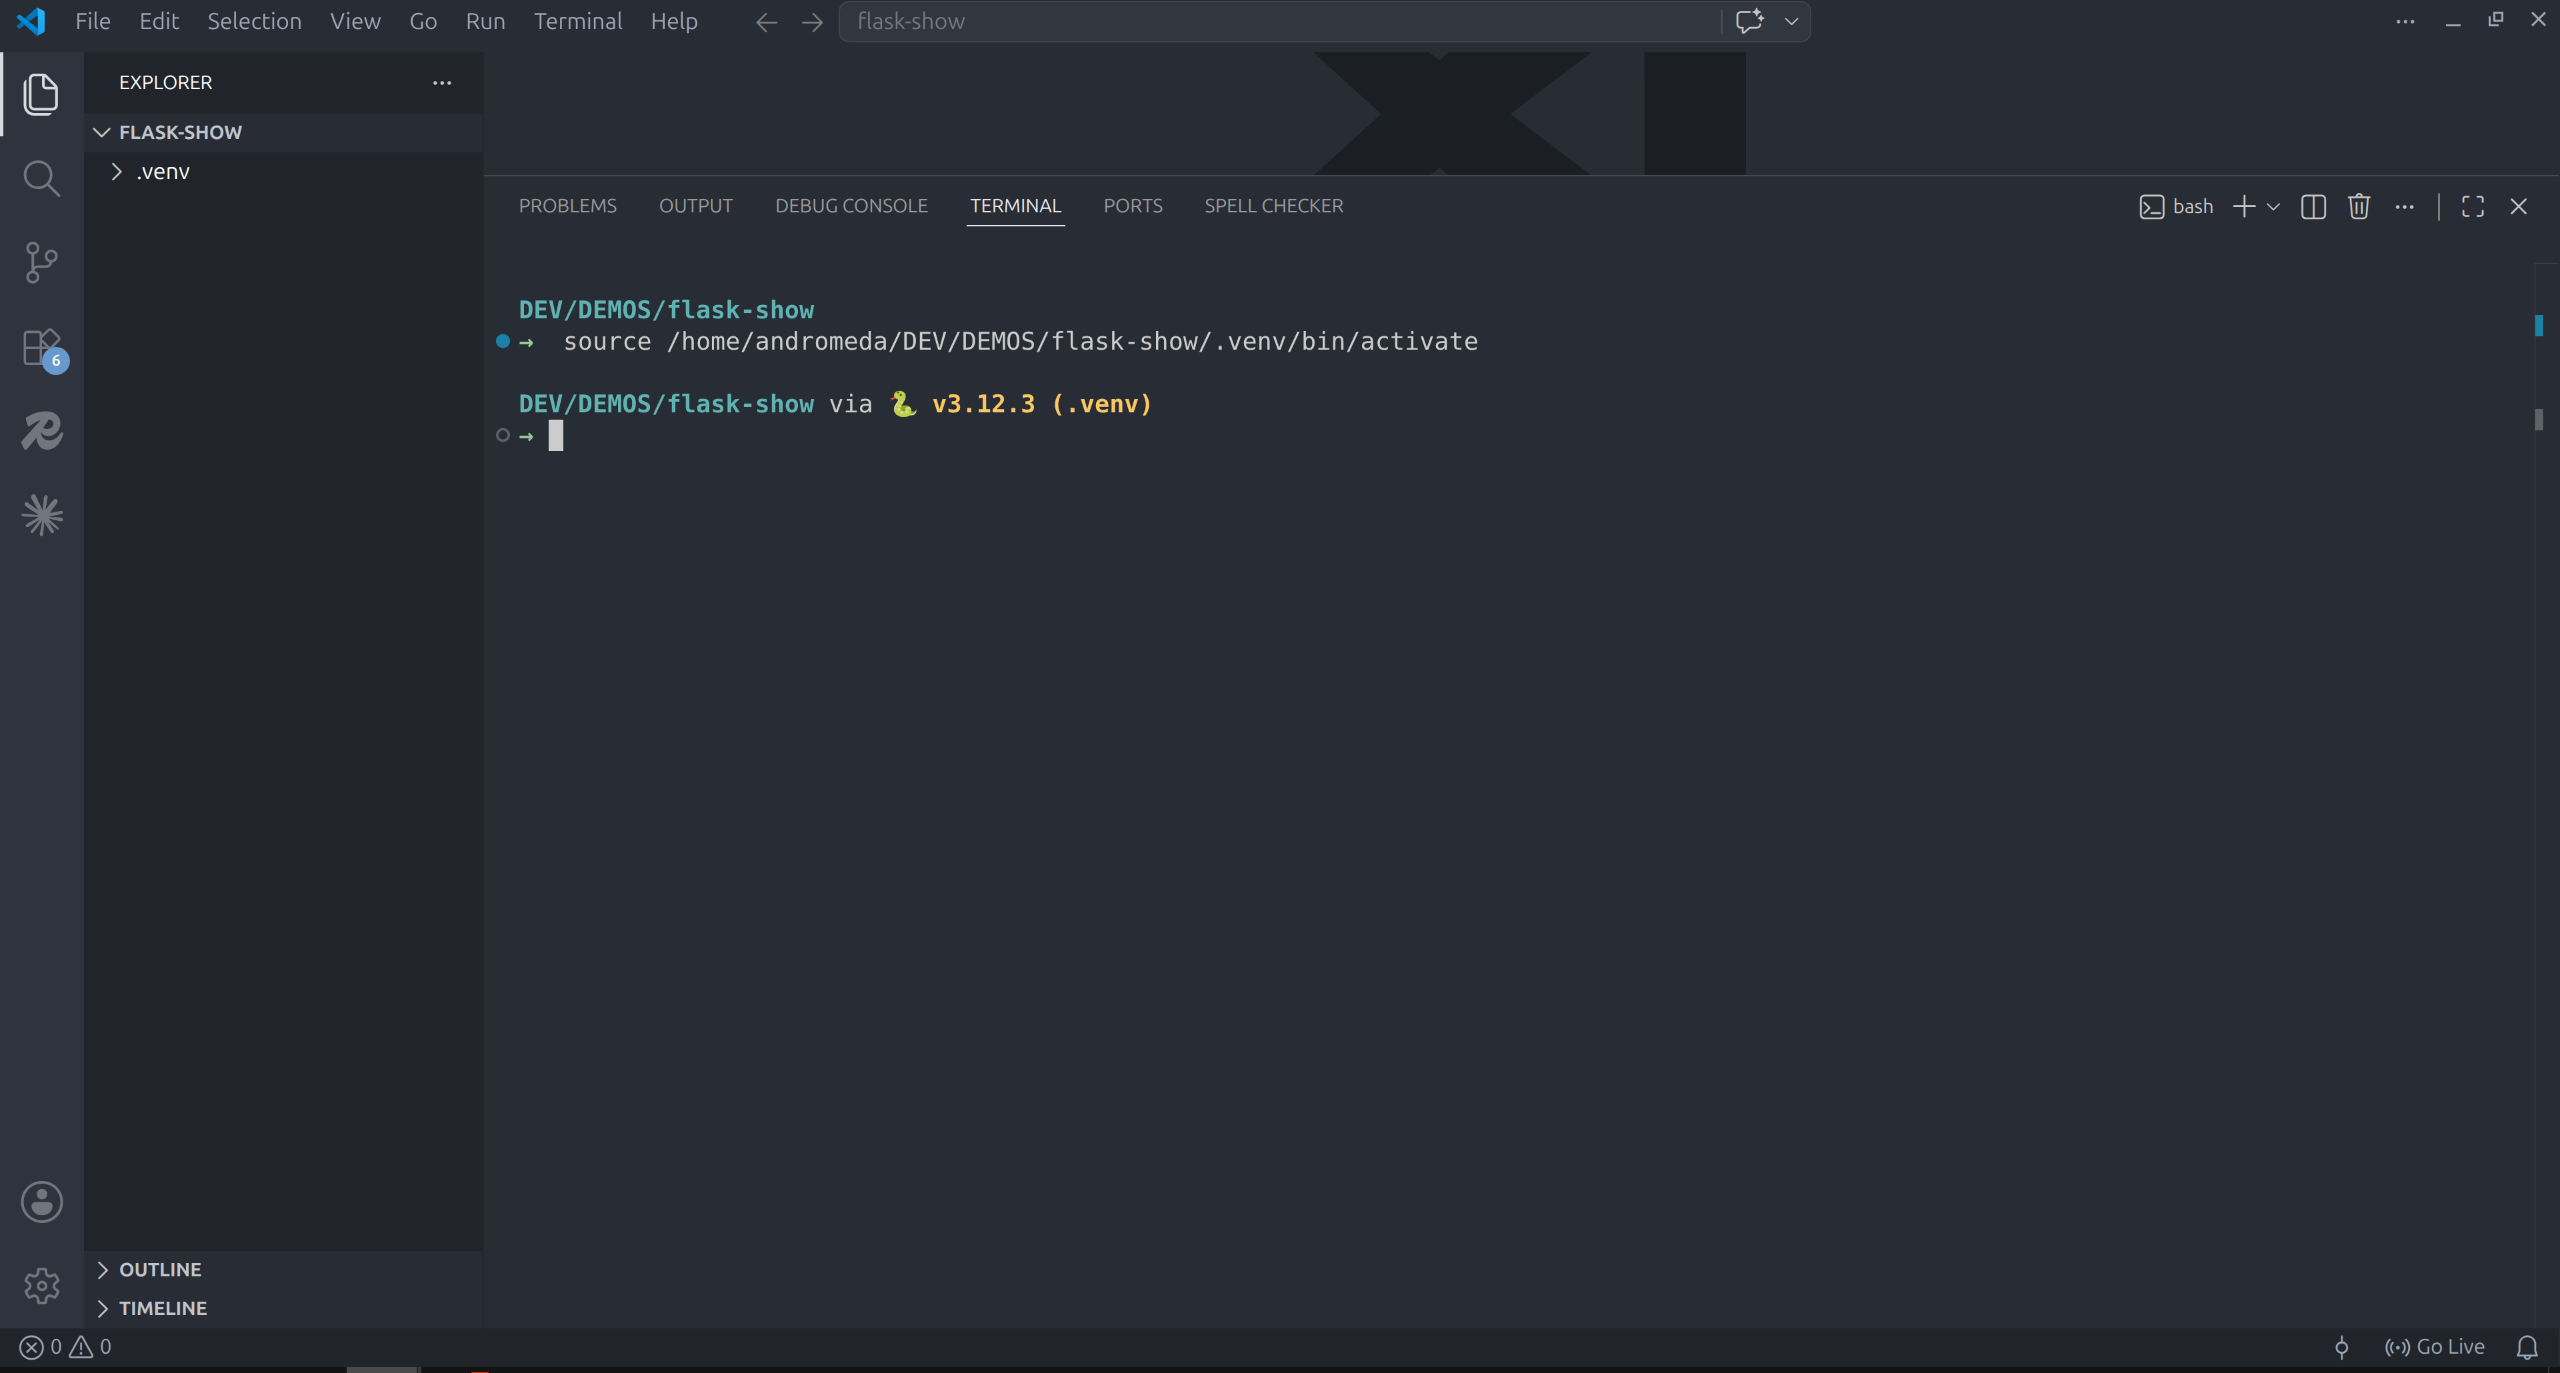
That (.venv) is VSCode telling you: you are now working inside your virtual environment. Any package you install from here goes into this project only — not globally.
If you do not see it yet, wait a few more seconds. If it still does not appear after about 30 seconds, close the terminal (Ctrl + ` to toggle) and reopen it — it should activate cleanly the second time.
Installing Flask
Once you see (.venv) in the prompt, type this and press Enter:
pip install flask
You will see Flask and its dependencies being downloaded and installed.
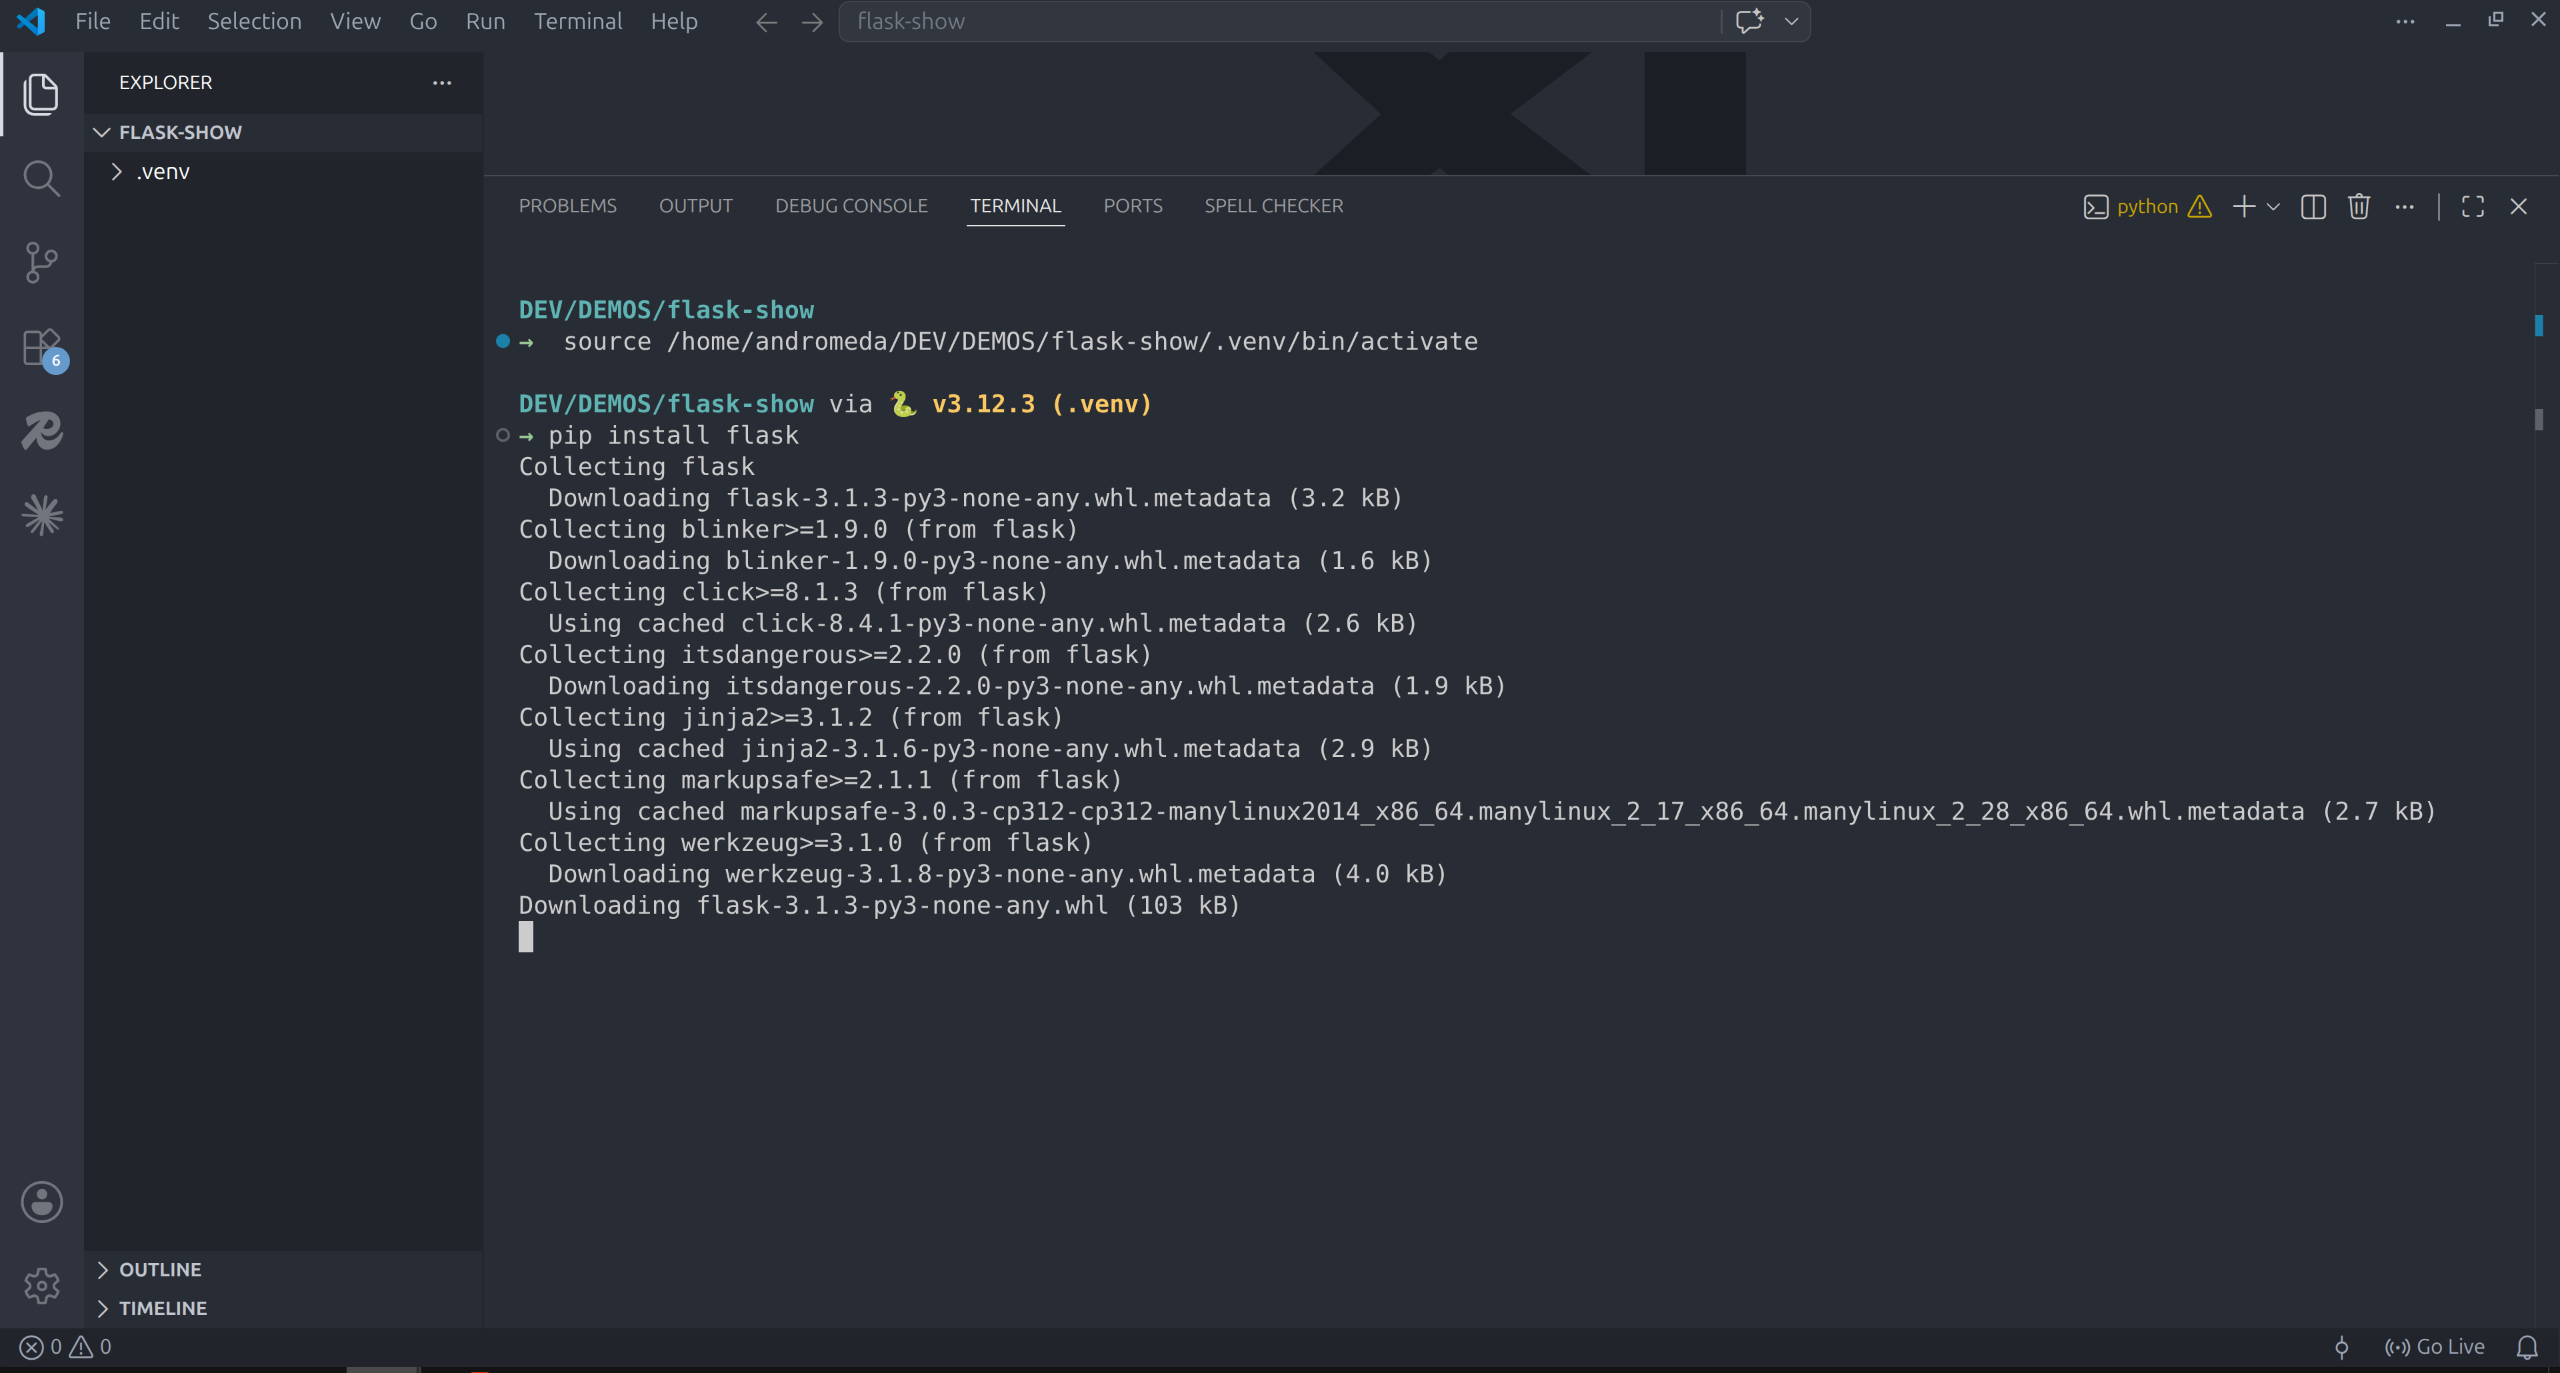
When it finishes and you get the prompt back, Flask is installed inside your virtual environment and ready to use.
Verify it
Run this to confirm:
pip show flask
You should see Flask's name, version, and location. The location will be a path inside your .venv folder — which confirms it is isolated to this project.
The complete picture
Here is what a properly set-up project looks like at this point:
flask-project/
│
├── .venv/            ← virtual environment (pip installs go here)
├── templates/        ← your HTML files go here
│   └── index.html
└── app.py            ← your Flask code goes here
The terminal is open, (.venv) is visible, Flask is installed. You are fully set up and ready to write your first Flask app.
Always check for (.venv) before installing
If you install packages without the virtual environment active, they go into your global Python instead. Always check for (.venv) in the prompt before running pip install. If it is not there, close and reopen the terminal.
Challenge
Open the terminal in your flask-project, wait for (.venv) to appear, then run pip install flask. When it finishes, run pip show flask and confirm the location path contains .venv somewhere in it.
← Creating a Virtual Environment Next: How Do People See Our Pages? →