Creating a Virtual Environment
Before installing Flask — or any package — into a project, you create a virtual environment. This is one of those habits that feels like extra work at first but saves you a lot of trouble later. Let's understand why, then set one up.
What is a virtual environment?
When you install a package with pip, it normally installs it globally — meaning the entire Python on your computer gets it. That sounds fine until you have two projects that need different versions of the same package. They start fighting each other.
A virtual environment is a private, isolated copy of Python just for one project. Packages you install inside it stay inside it. They do not affect anything else on your computer. When you are done with the project, you can delete the environment and everything it installed is gone — cleanly.
Think of it as a separate toolbox for each project. The tools in one box do not mix with another.
Step 1 — Open the Command Palette
With your project folder open in VSCode, press:
Ctrl + Shift + P
This opens the Command Palette — a search bar that gives you access to every VSCode command.
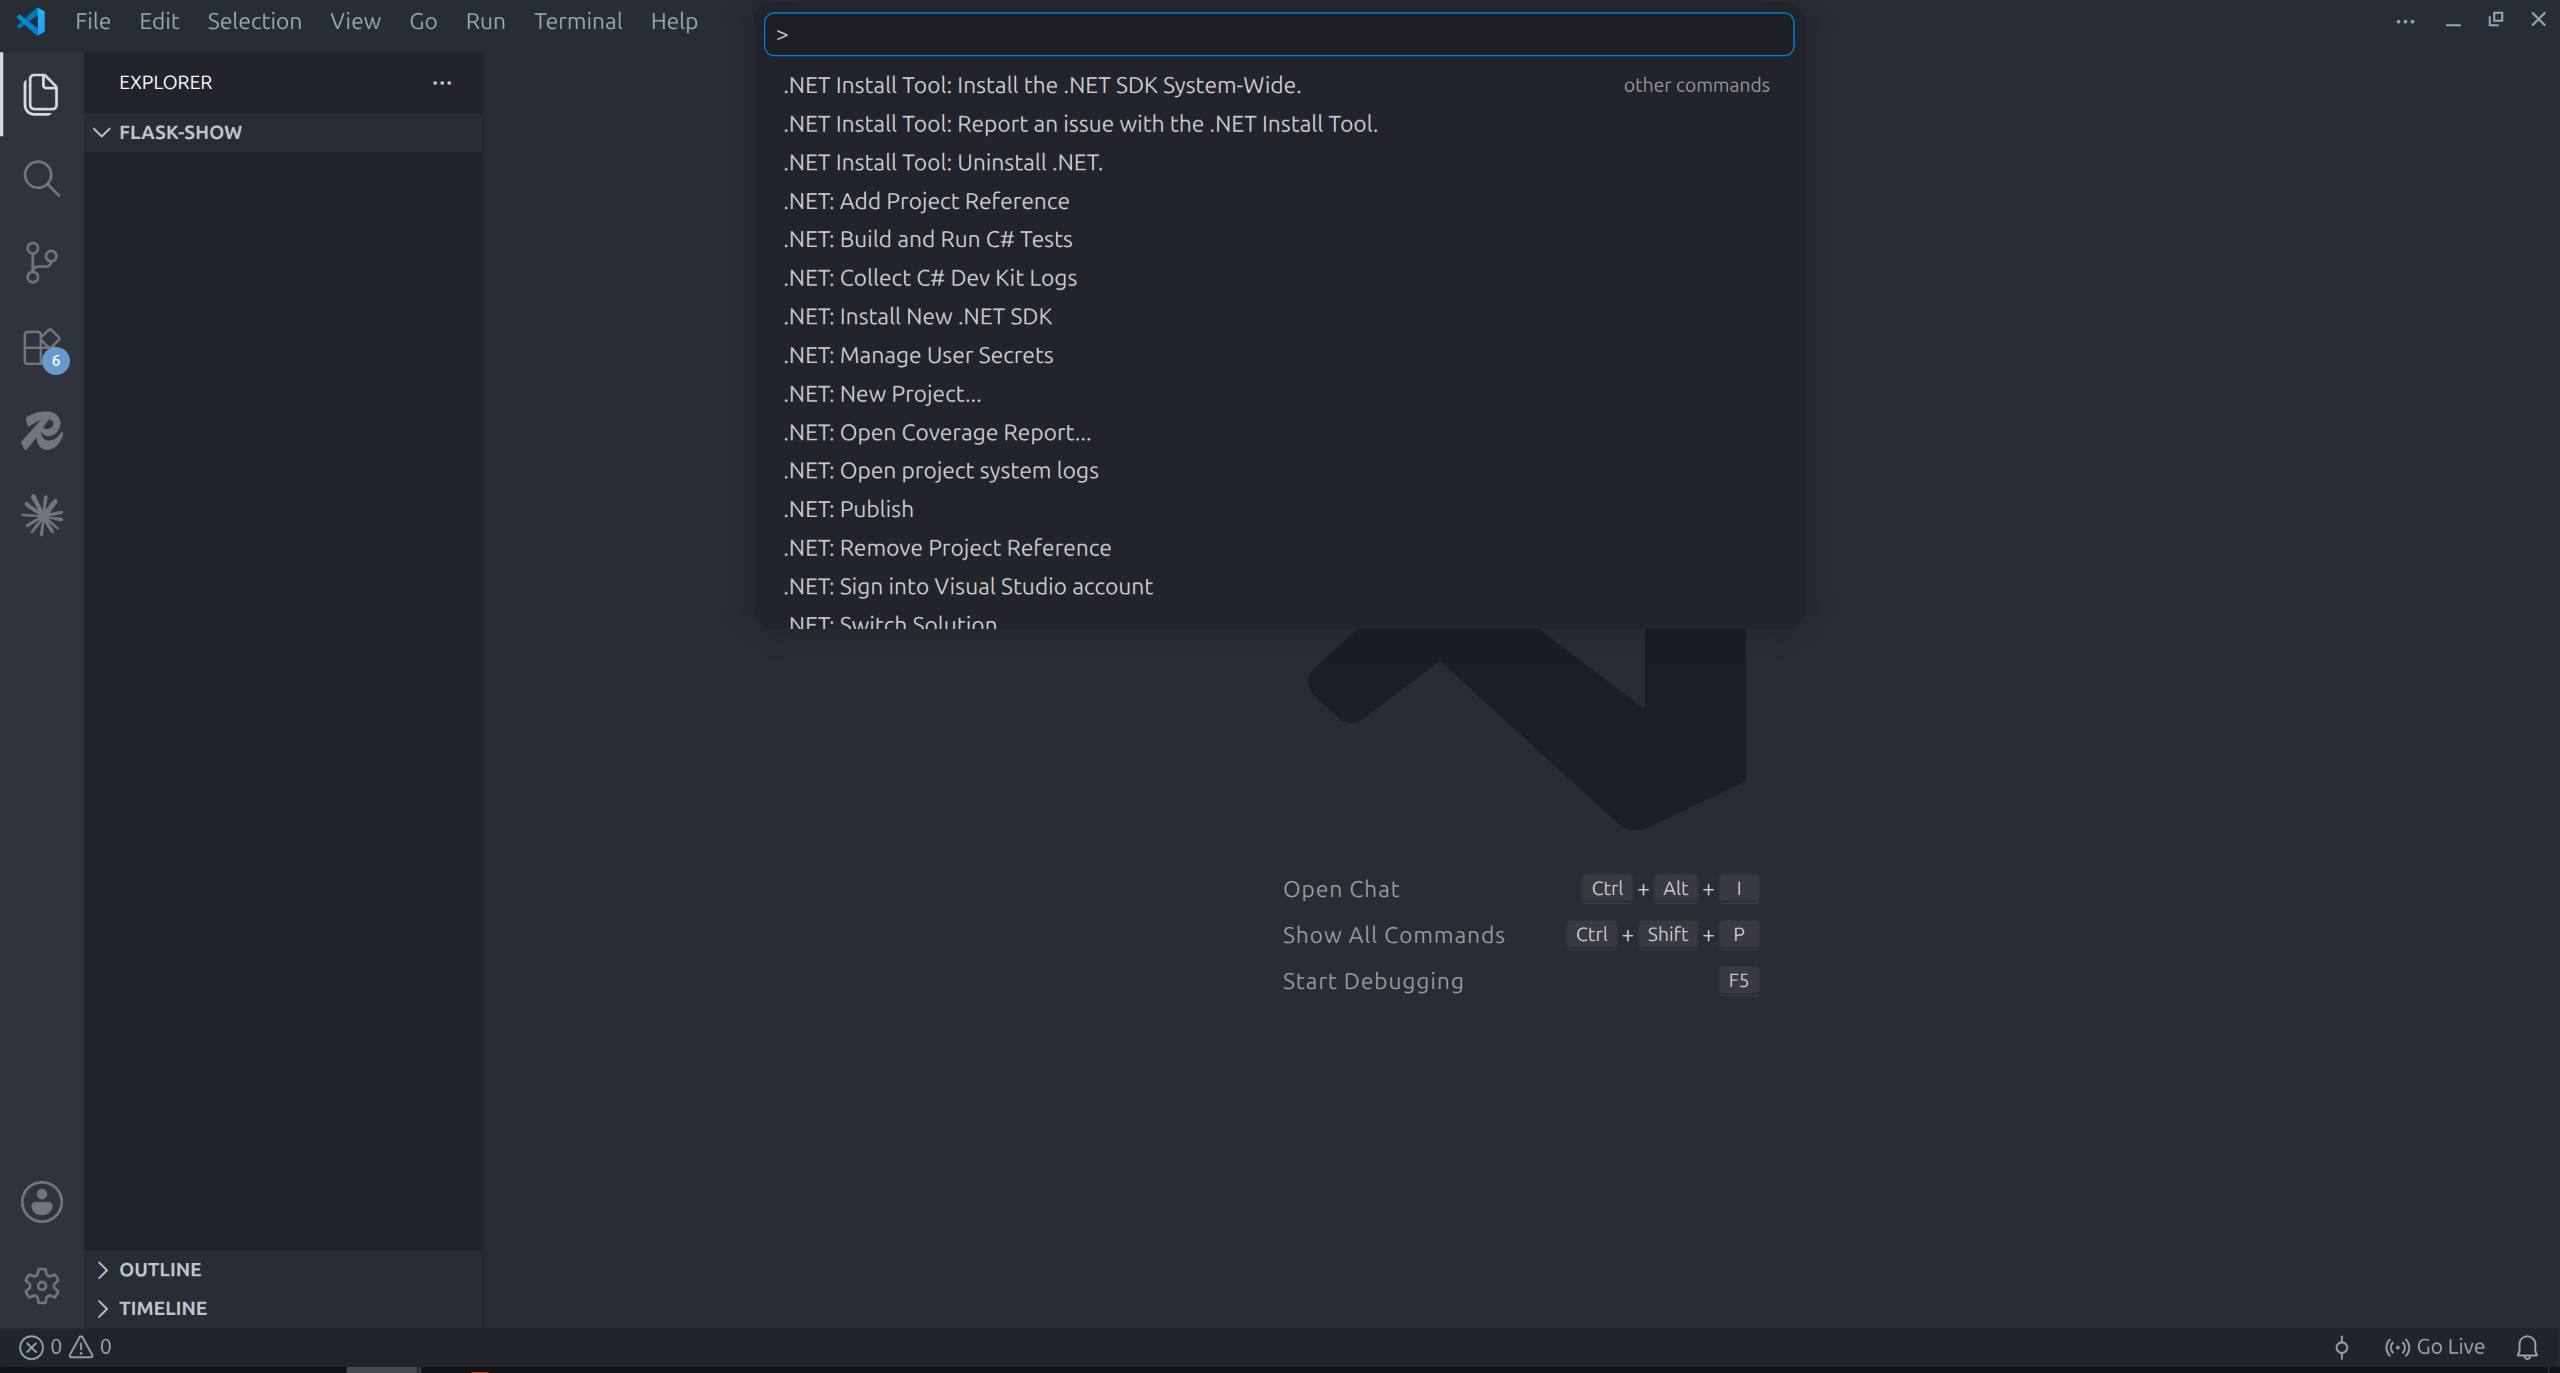
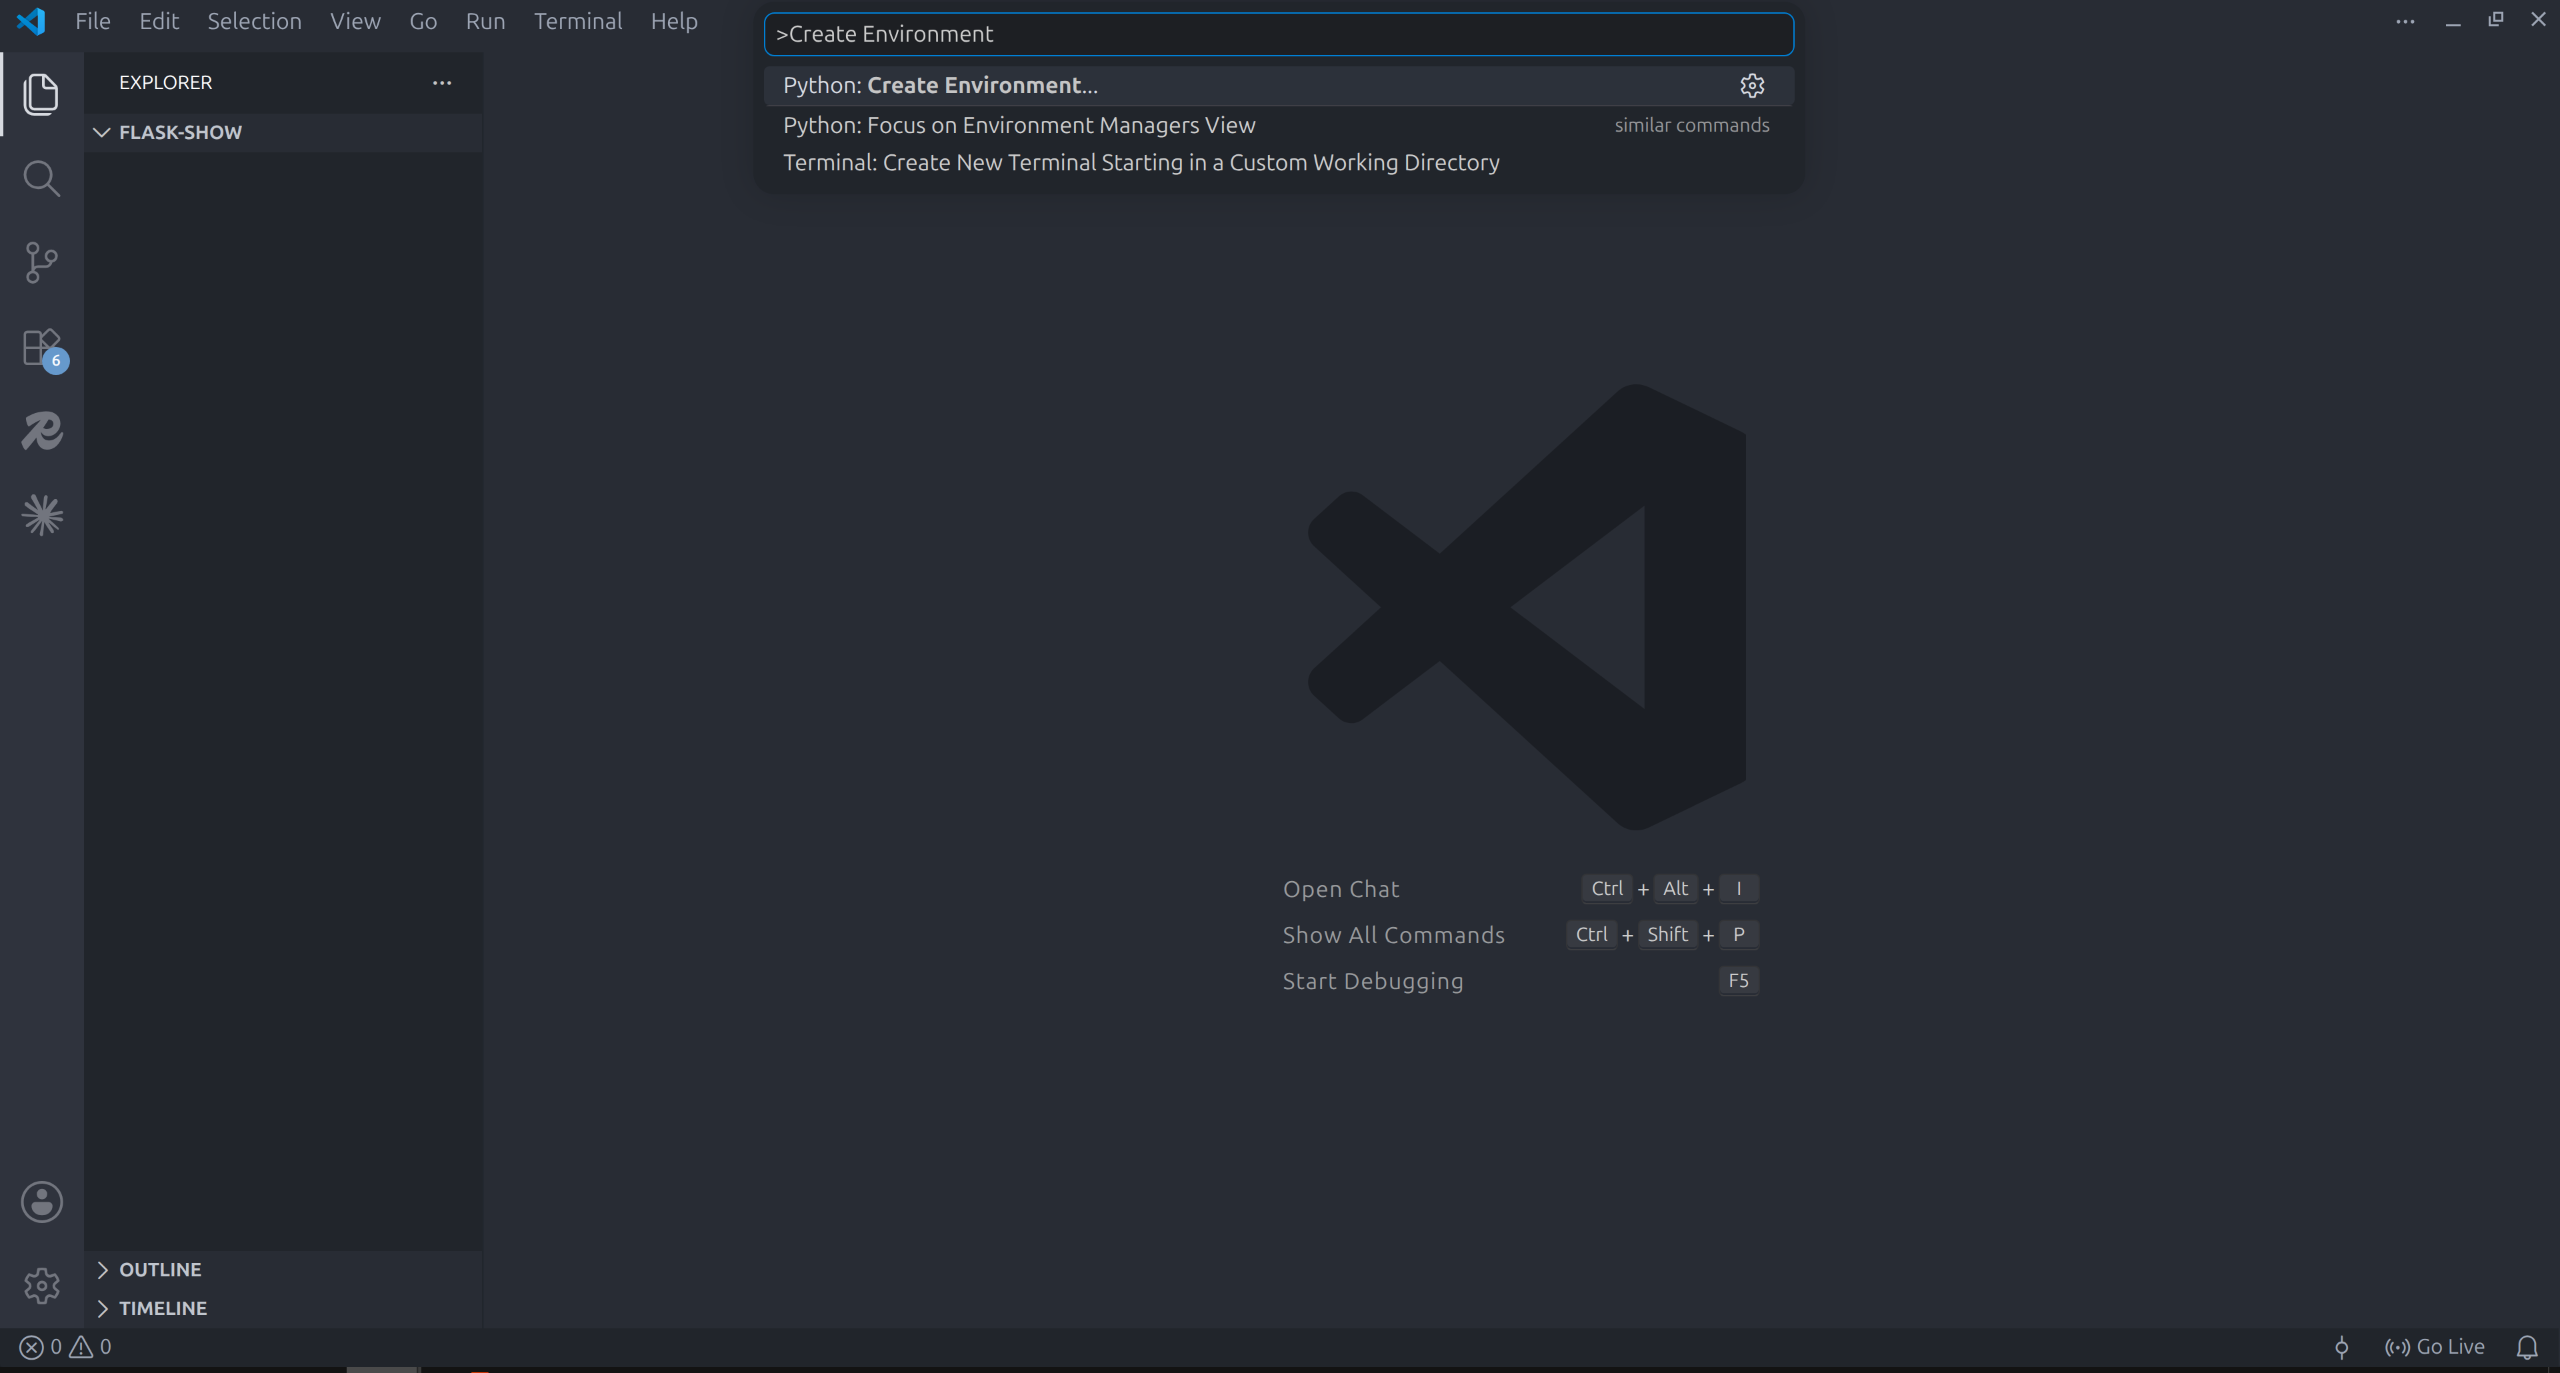
Step 2 — Search for "Create Environment"
Type Create Environment into the Command Palette. You will see an option appear:
Python: Create Environment
Click it.
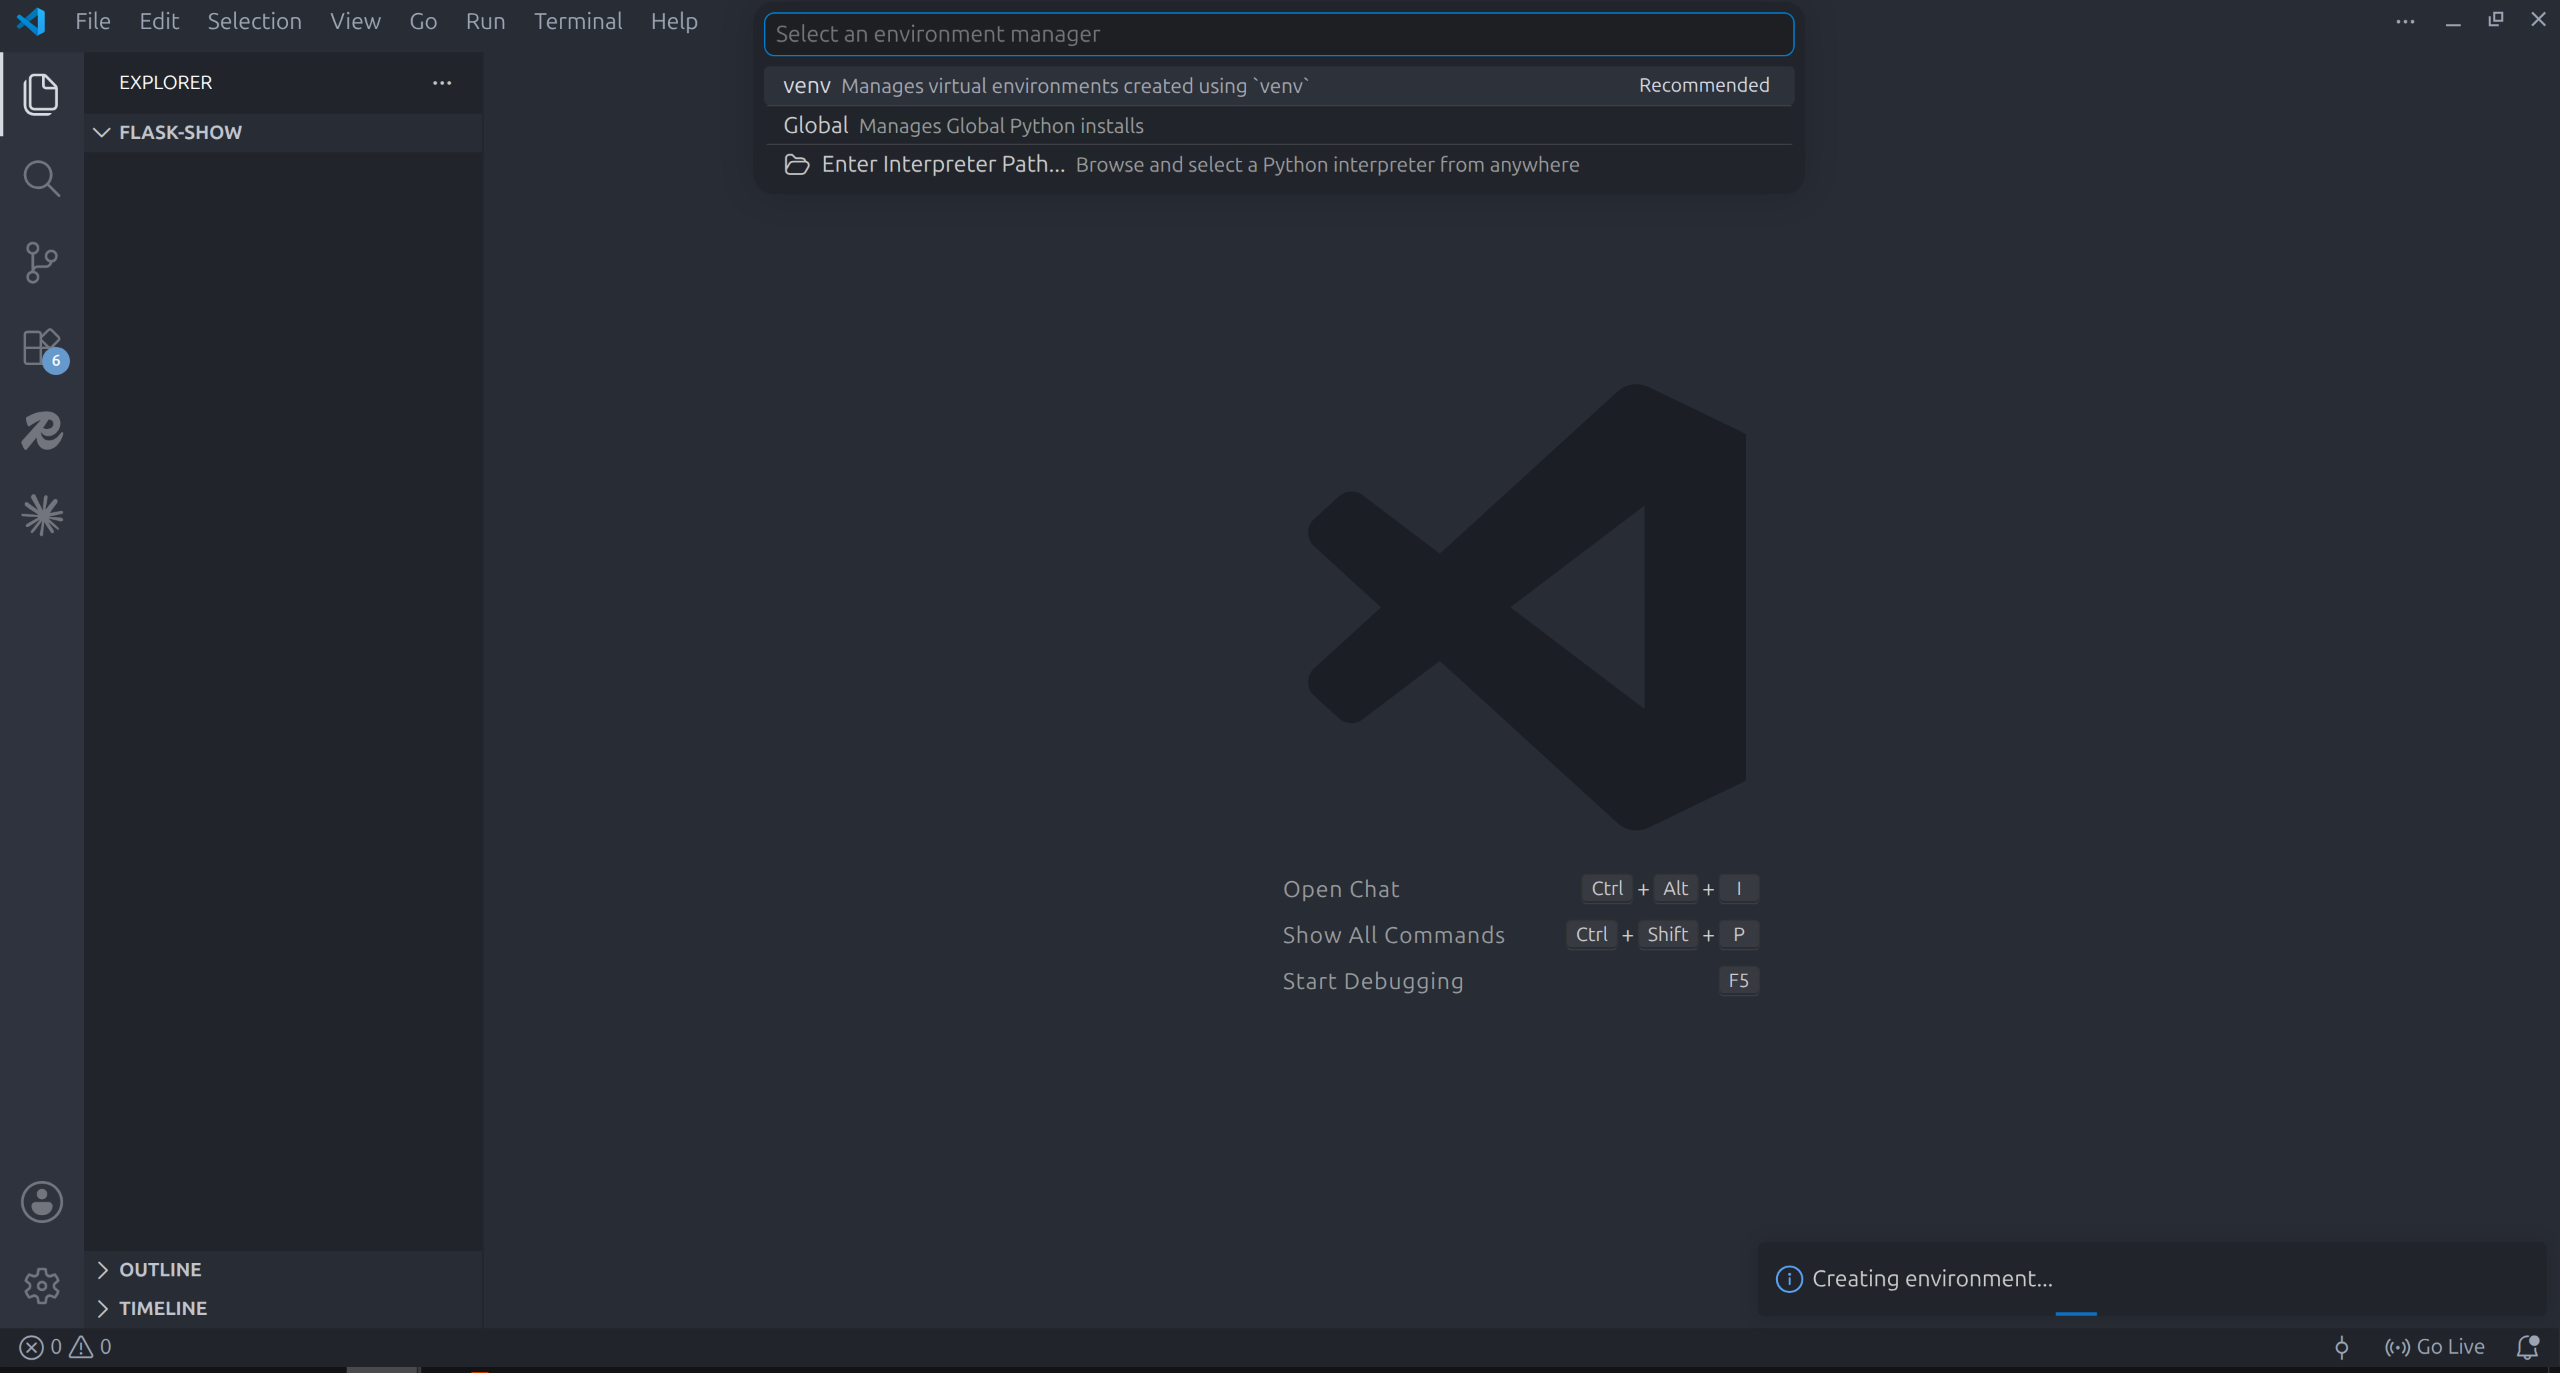
Step 3 — Choose Venv
VSCode asks which type of environment to create. Choose the first option — Venv.
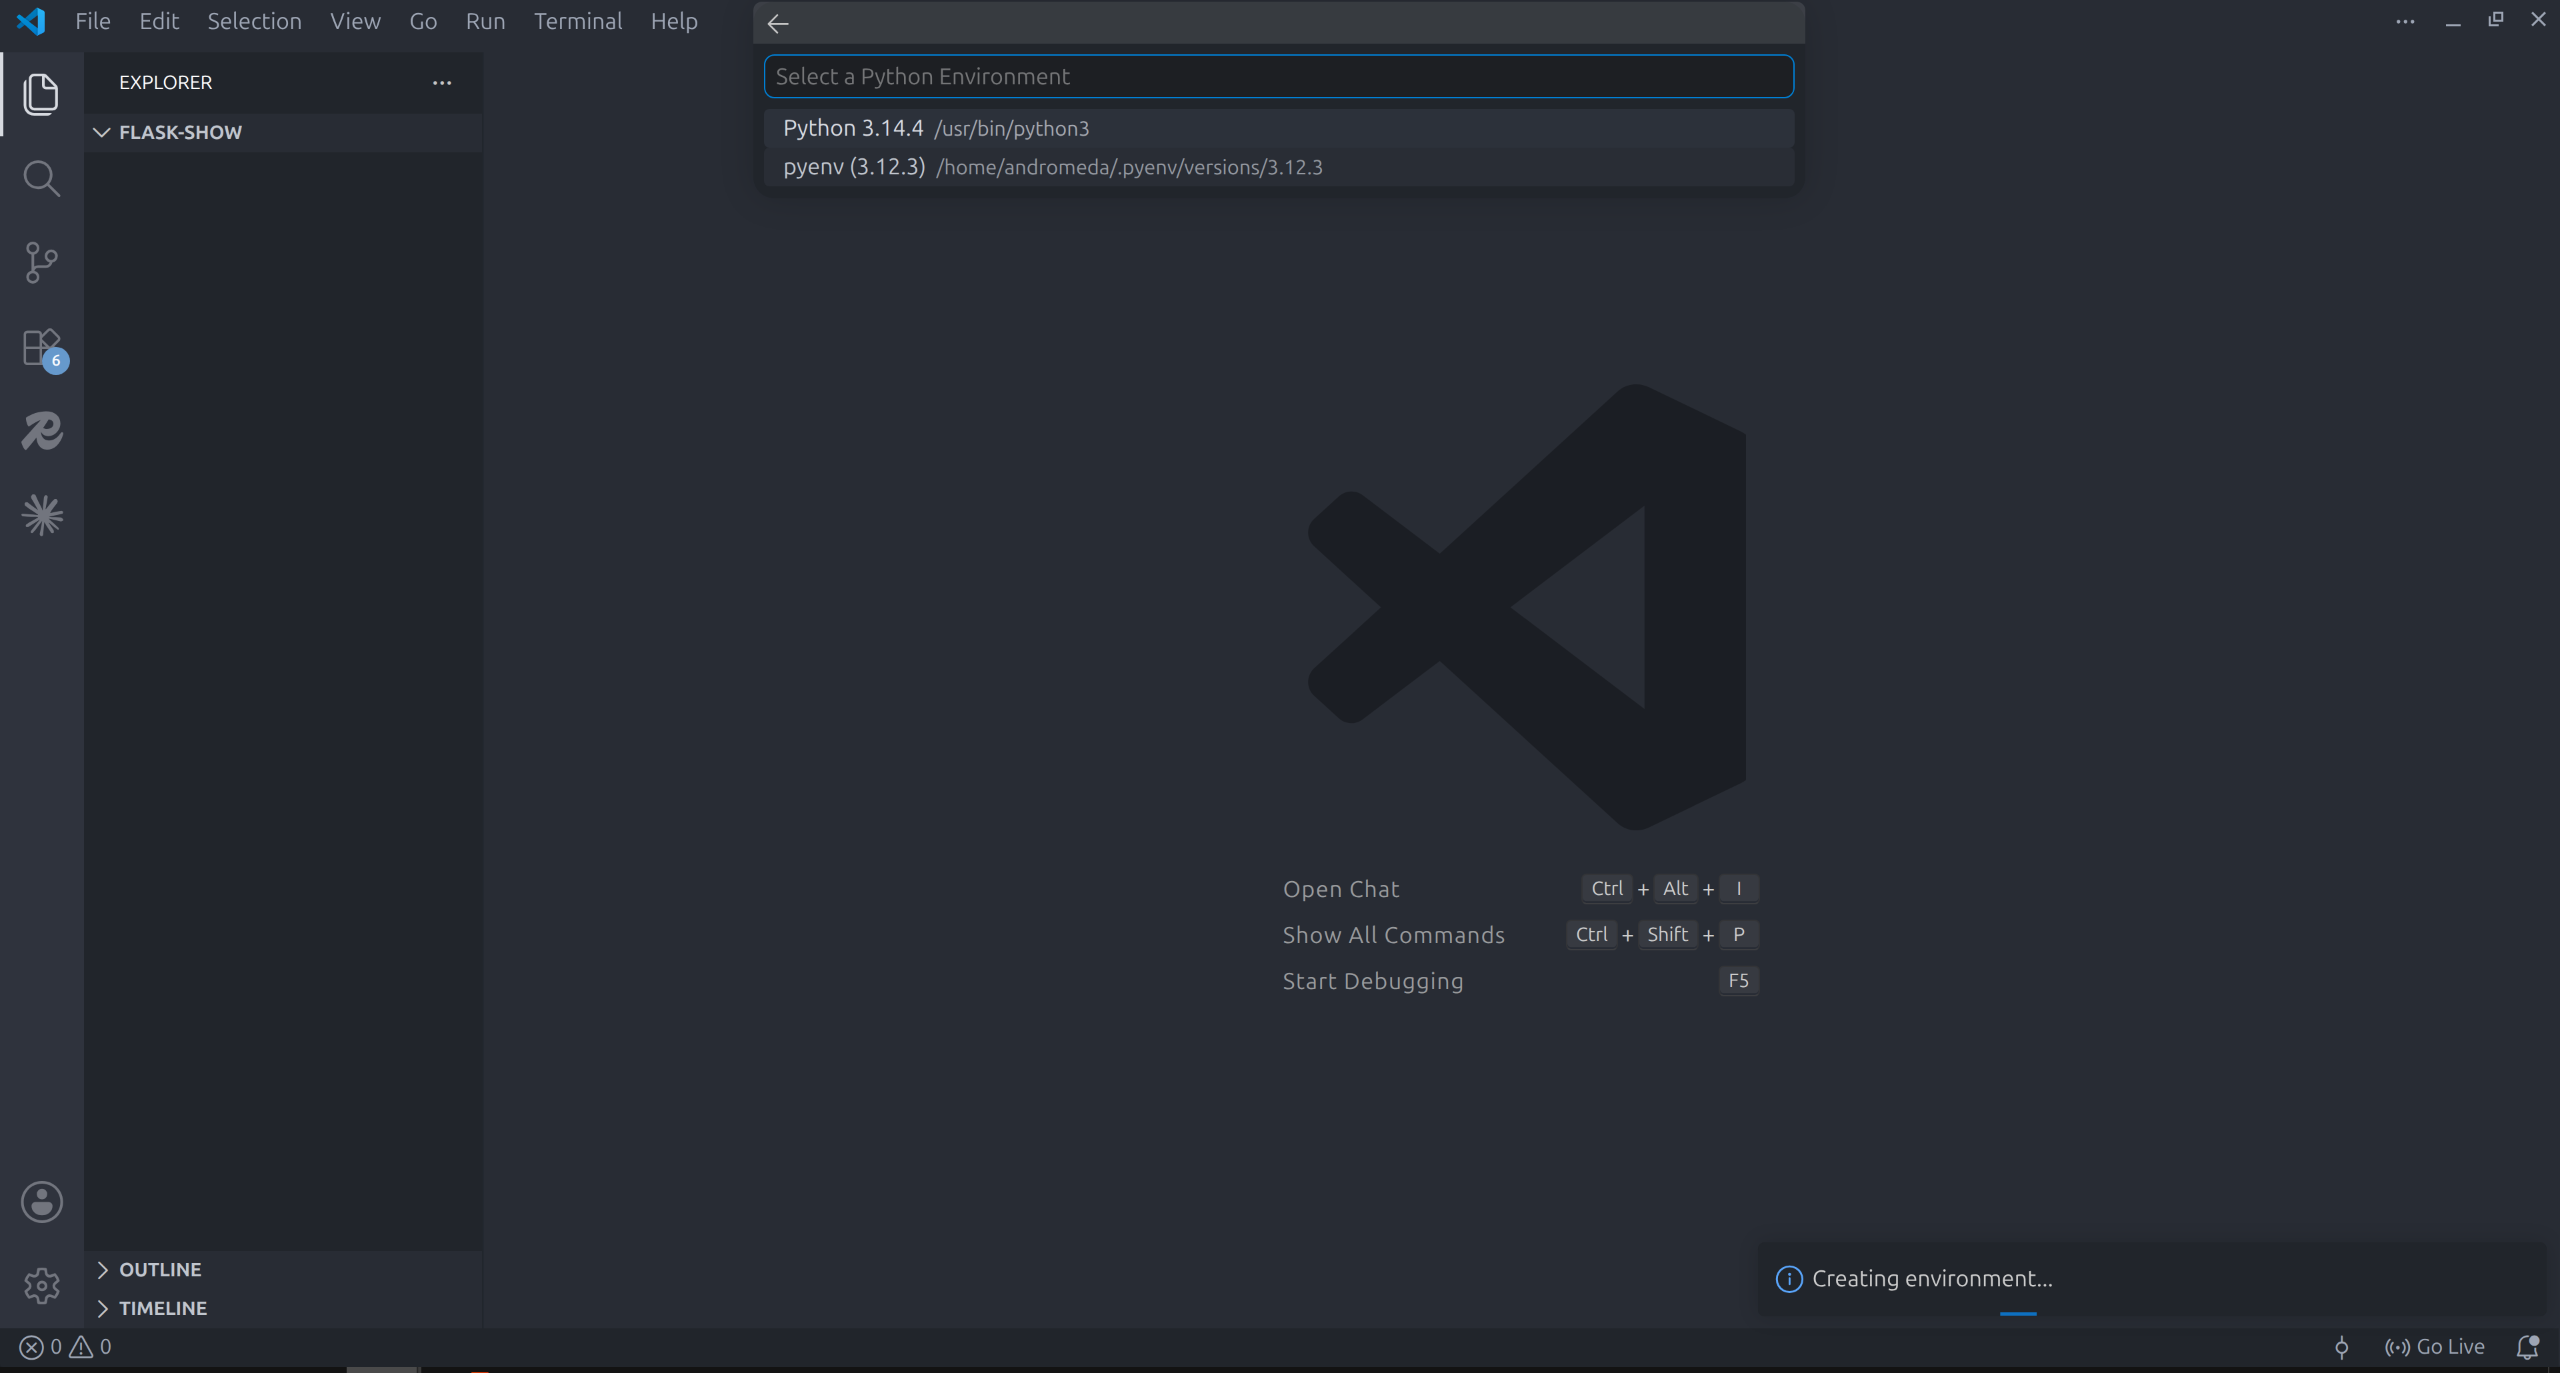
Step 4 — Choose your Python interpreter
VSCode now asks which Python to use. You will see the Python version installed on your computer. Select it.
Step 5 — Wait for it to finish
VSCode creates the environment. You will see a small notification or progress indicator in the bottom right corner. Give it a moment.
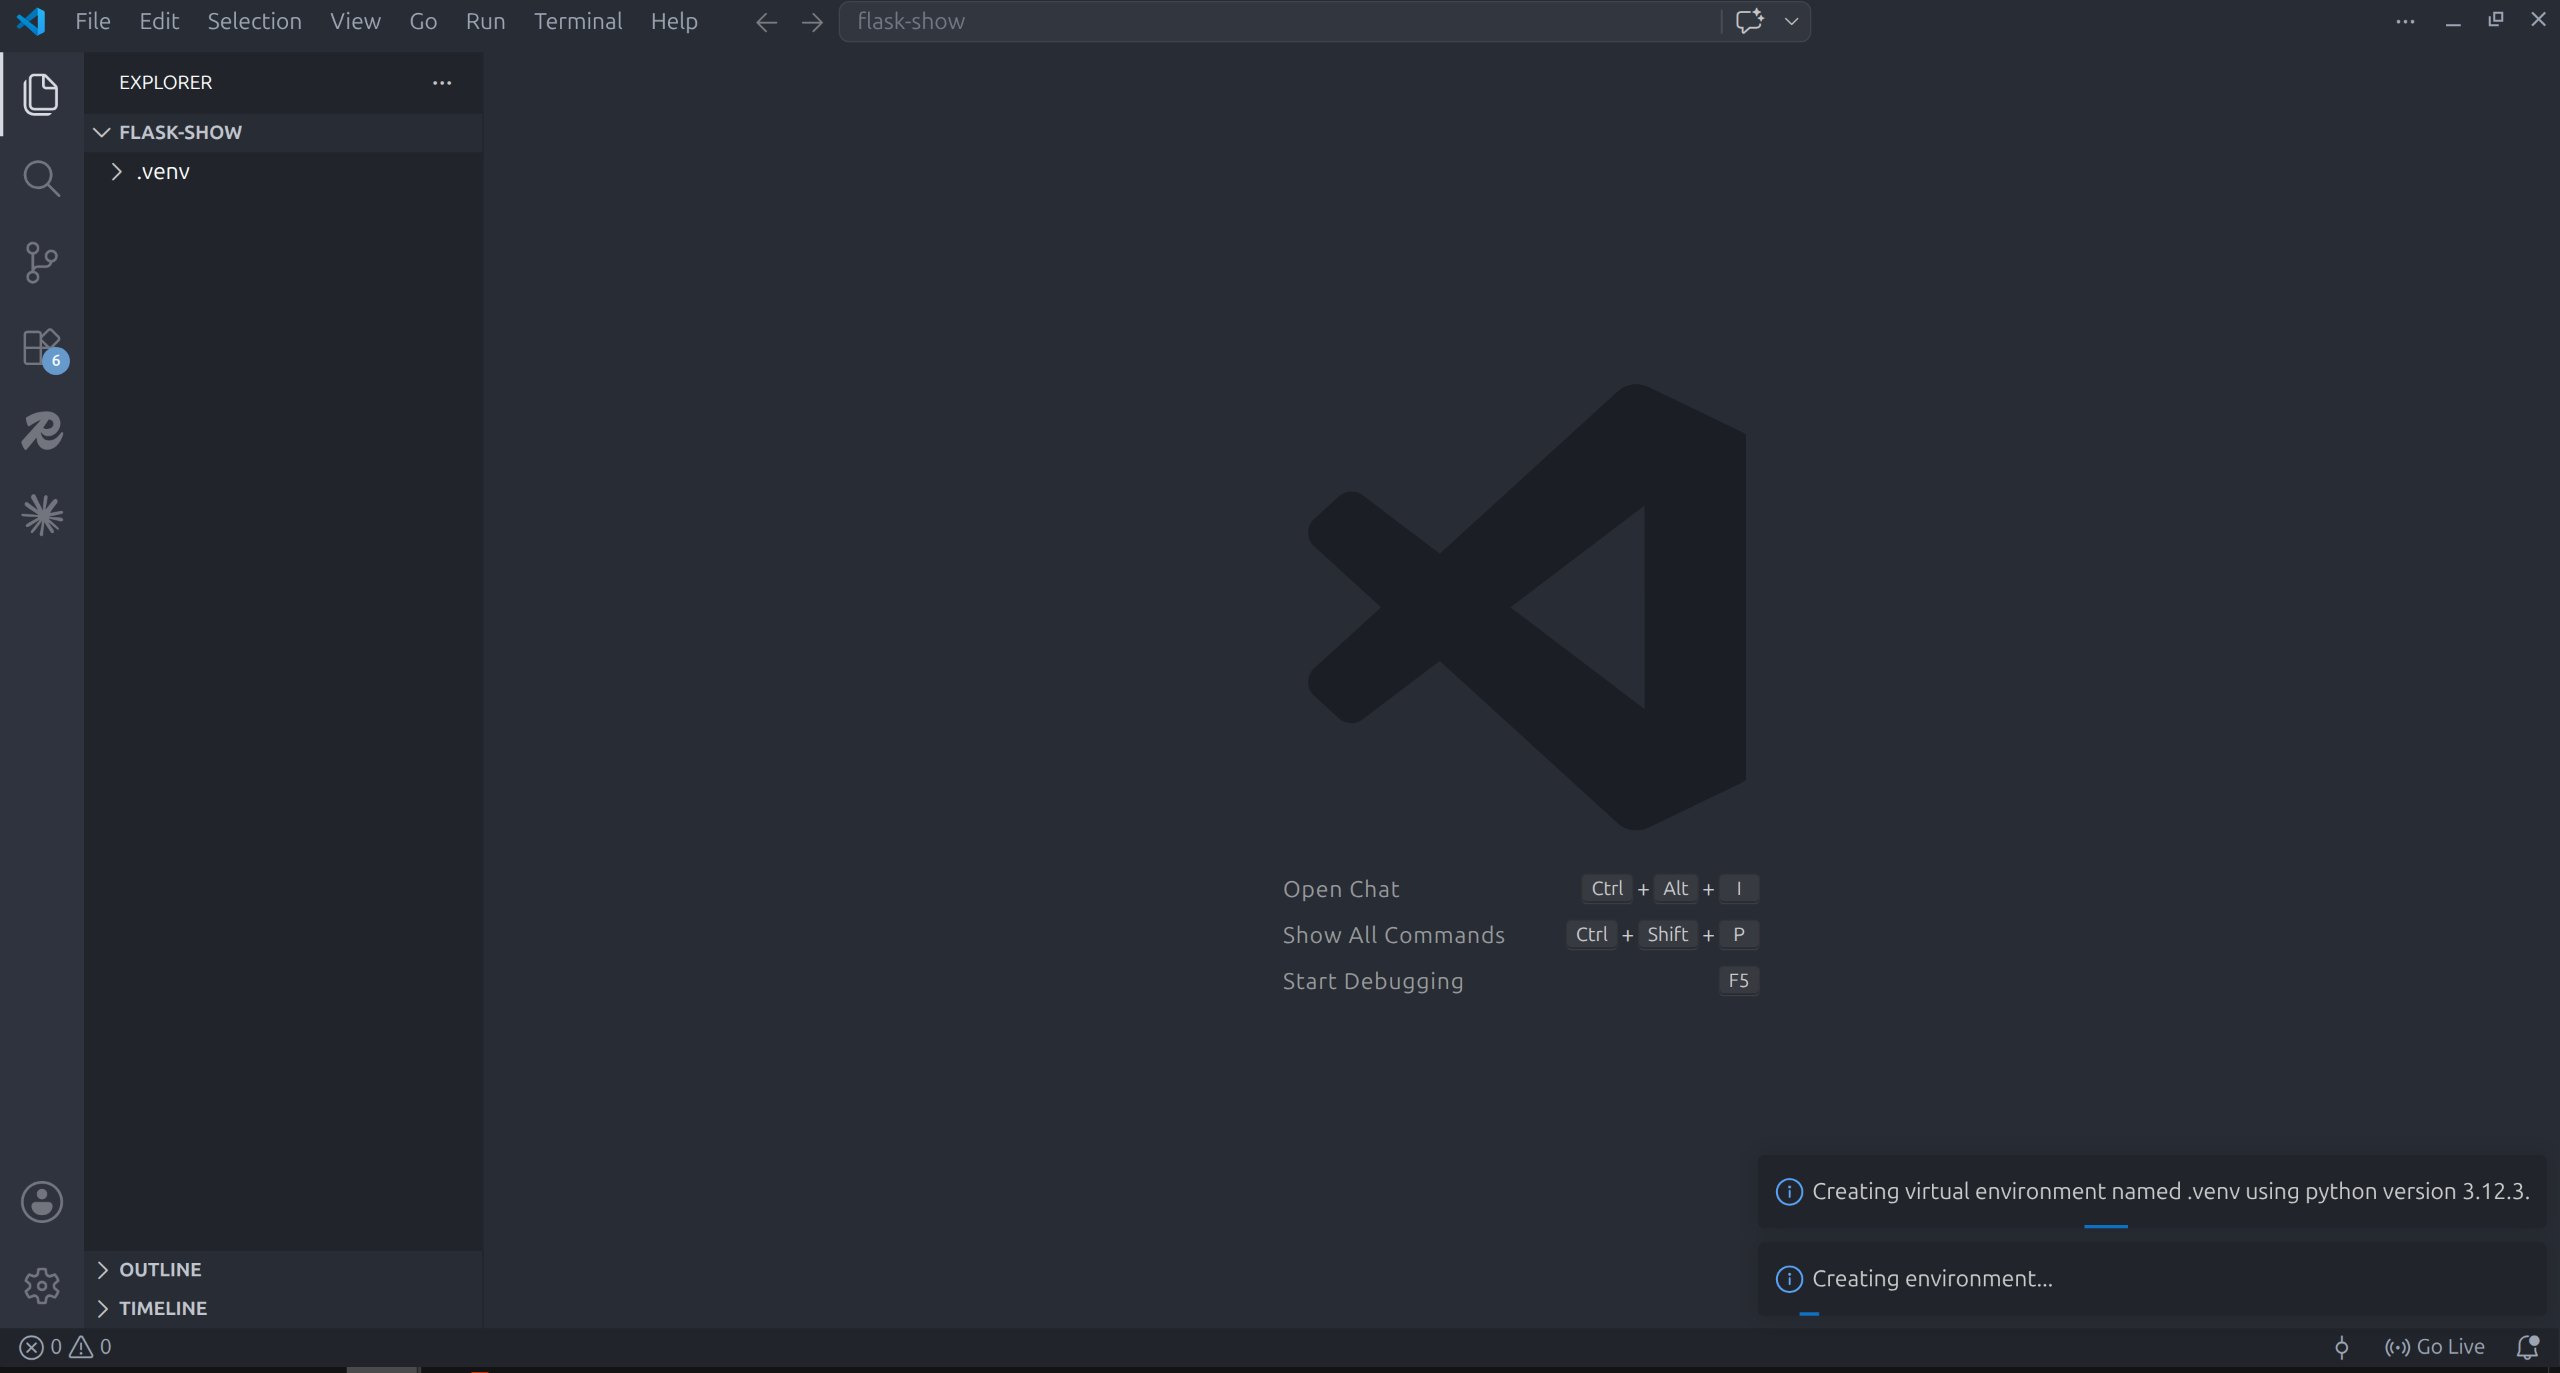
Step 6 — Confirm it worked
Once finished, look at the Explorer panel. You should see a new folder called .venv inside your project.
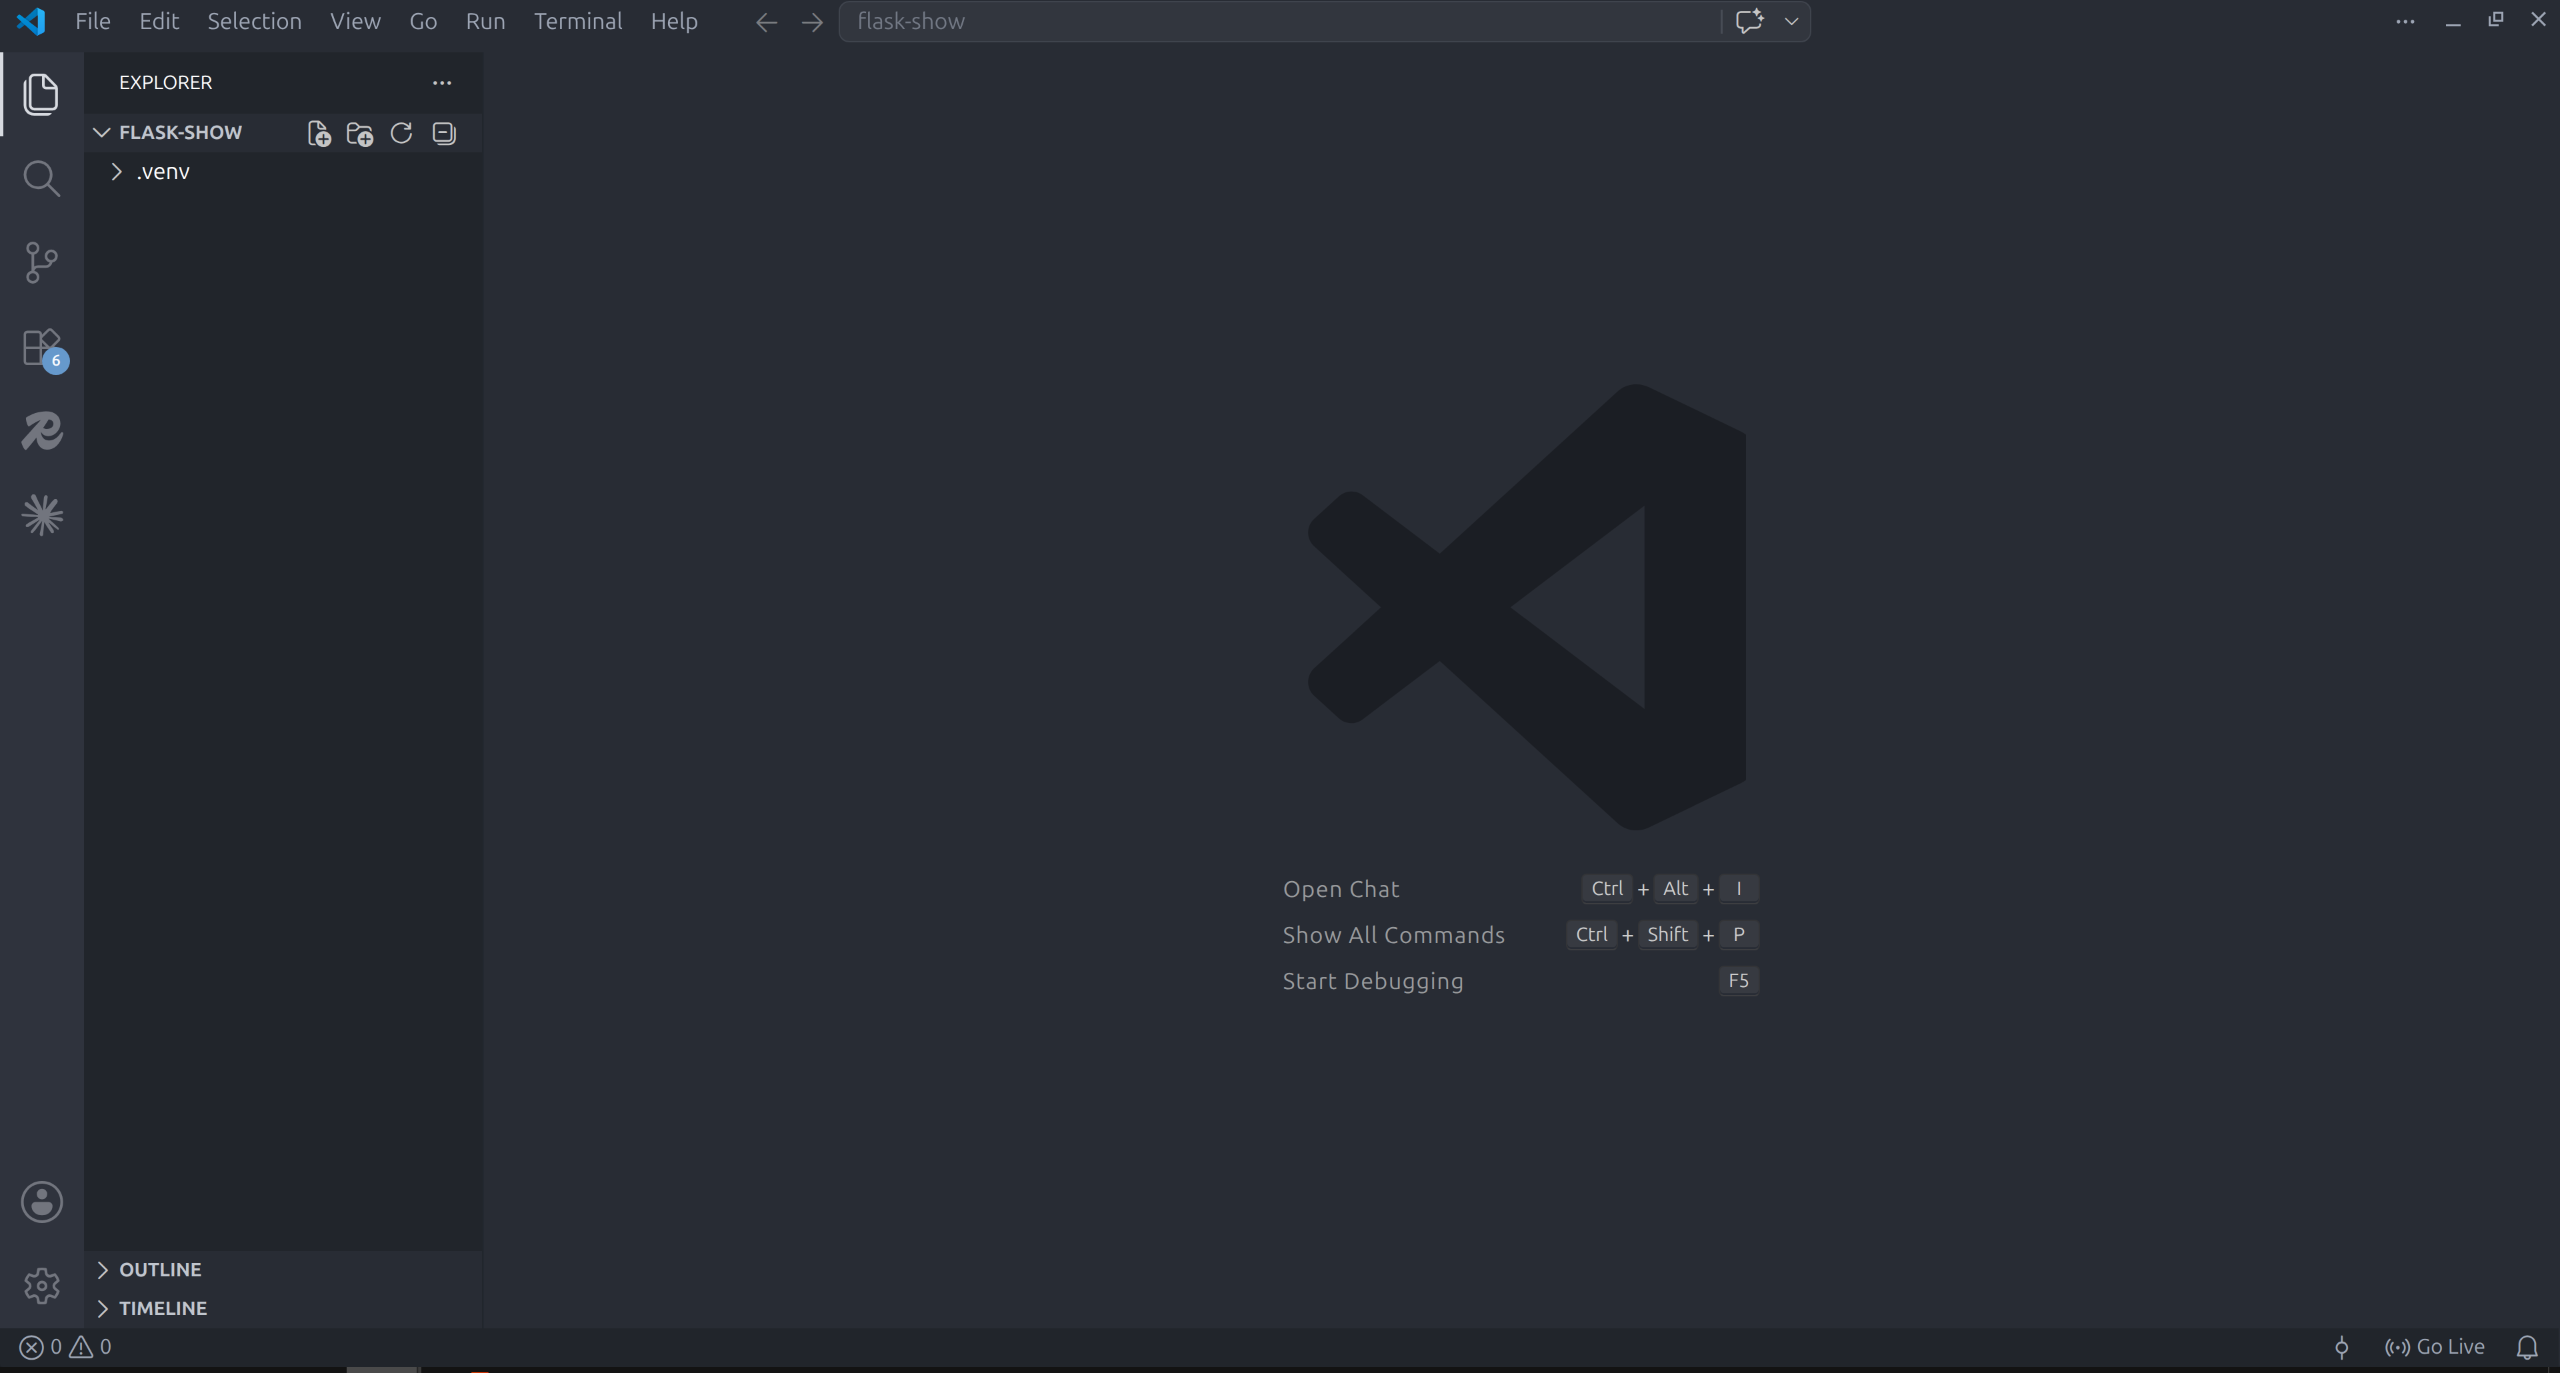
That .venv folder is your virtual environment. It contains its own Python and its own package store. Do not manually edit anything inside it — just leave it alone.
The folder structure now
Your project folder should look like this:
flask-project/
│
└── .venv/       ← your virtual environment (leave it alone)
When you create your templates/ folder and app.py later, they sit alongside .venv:
flask-project/
│
├── .venv/
├── templates/
│   └── index.html
└── app.py
The dot in .venv
The dot at the start of .venv means it is a hidden folder on Mac and Linux. On Windows it shows normally. Either way, VSCode always shows it in the Explorer.
Challenge
Create the virtual environment in your flask-project folder right now using the steps above. When you see the .venv folder appear in the Explorer, you are done. Move on to the next page.
← Opening Your Project Next: The Terminal and Installing Packages →